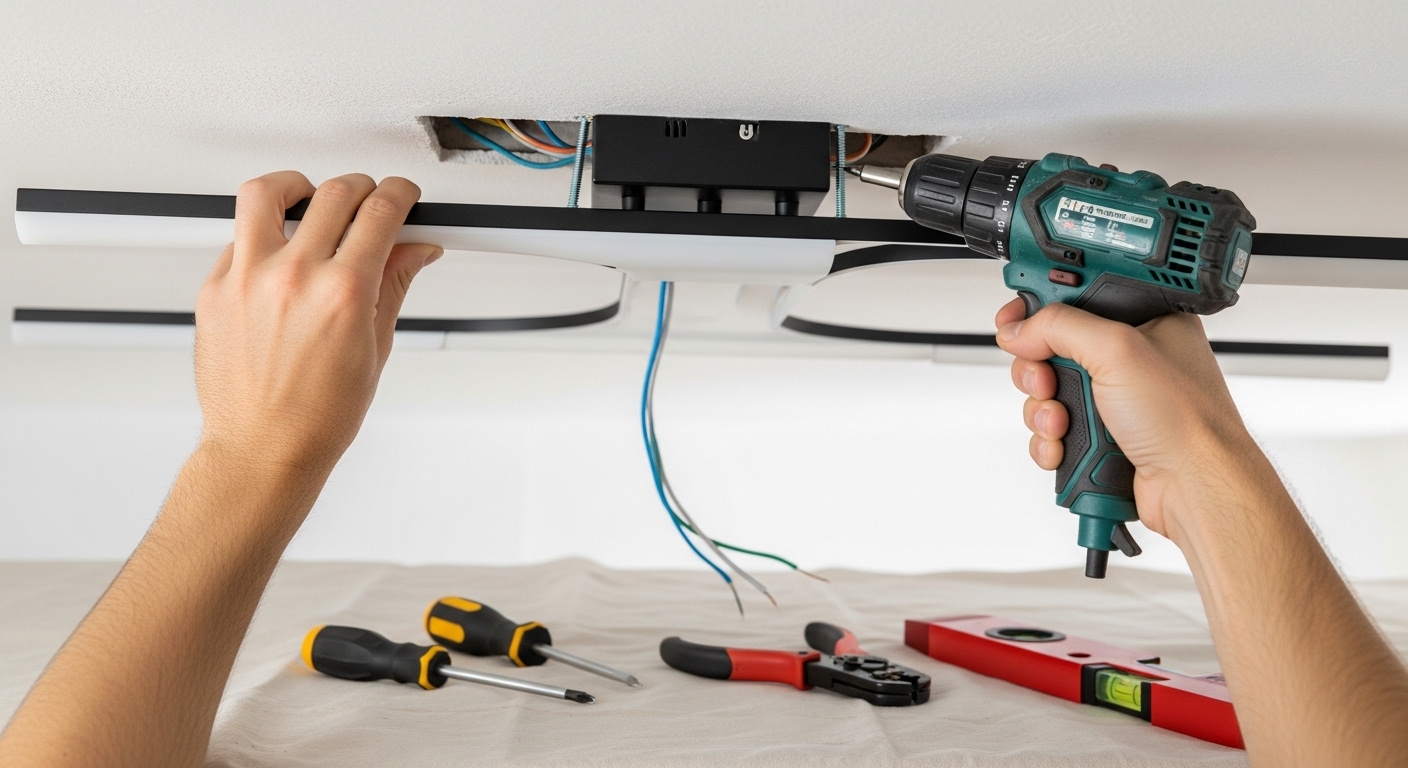
Plug-in sconces are the best-kept secret in DIY lighting. They install in 20 minutes, require no electrical knowledge, look identical to hardwired fixtures when installed correctly, and move with you if you leave. Here's exactly how I install them.
The Materials ($15–$25 total beyond the fixture)
Paintable cord cover (one 5-foot section per sconce), drywall anchors if not drilling into a stud, a level, a drill or screwdriver, and wall paint that matches your wall. That's it.
The Installation
Mark mounting height (I use 65 inches for bedside, 72 inches for living room). Level mark across for the mounting hole. Drill pilot hole, install anchor if needed, screw in mounting hardware, hang sconce. Feed cord through the cord cover and run it straight down the wall to the baseboard, then along the baseboard to the outlet. Snap the cover closed, touch up with paint. The outlet side of the cord disappears behind furniture or a small clip-on cover.
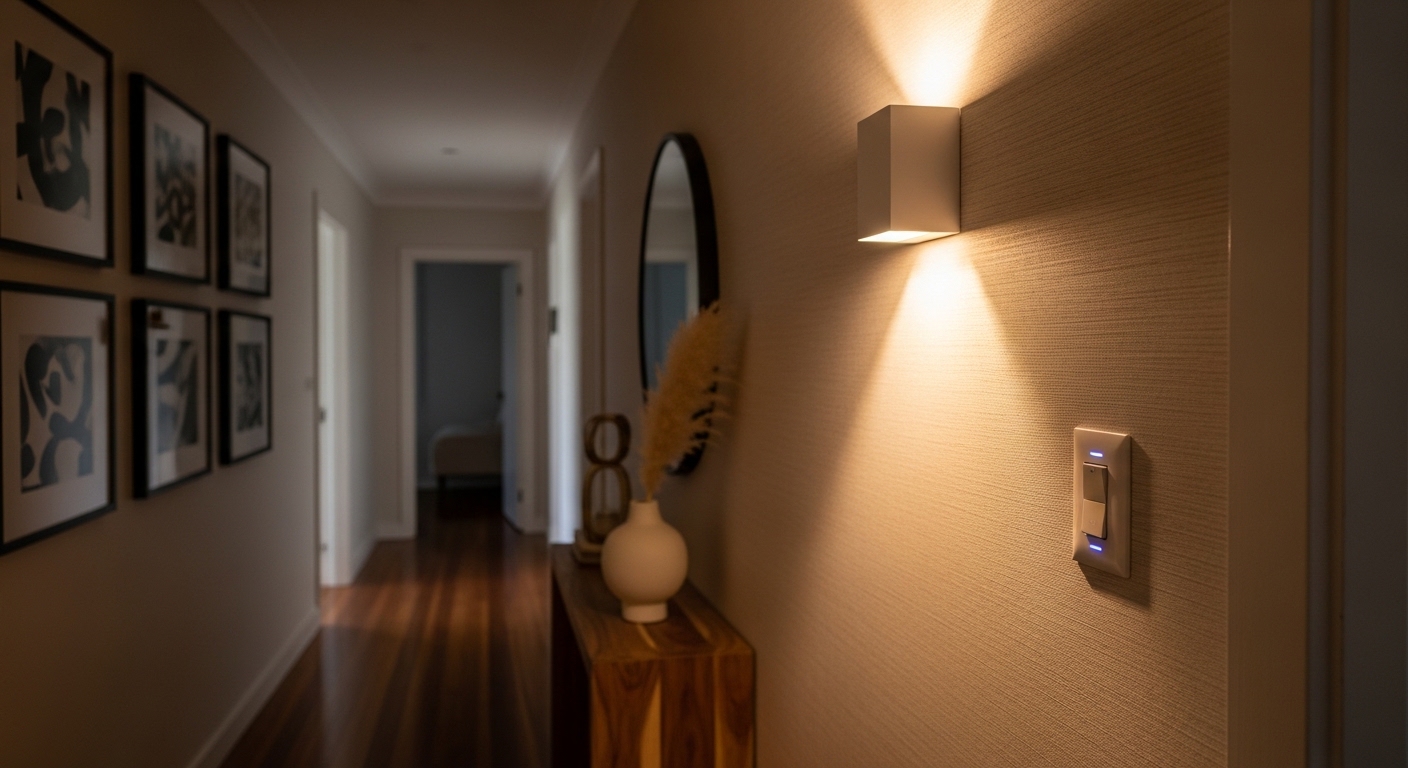
The One Mistake to Avoid
Don't run the cord diagonally across the wall. Always run it perfectly vertical down to the baseboard, then horizontal to the outlet. Diagonal cord covers look unfinished and draw the eye. Vertical-then-horizontal disappears completely once painted.
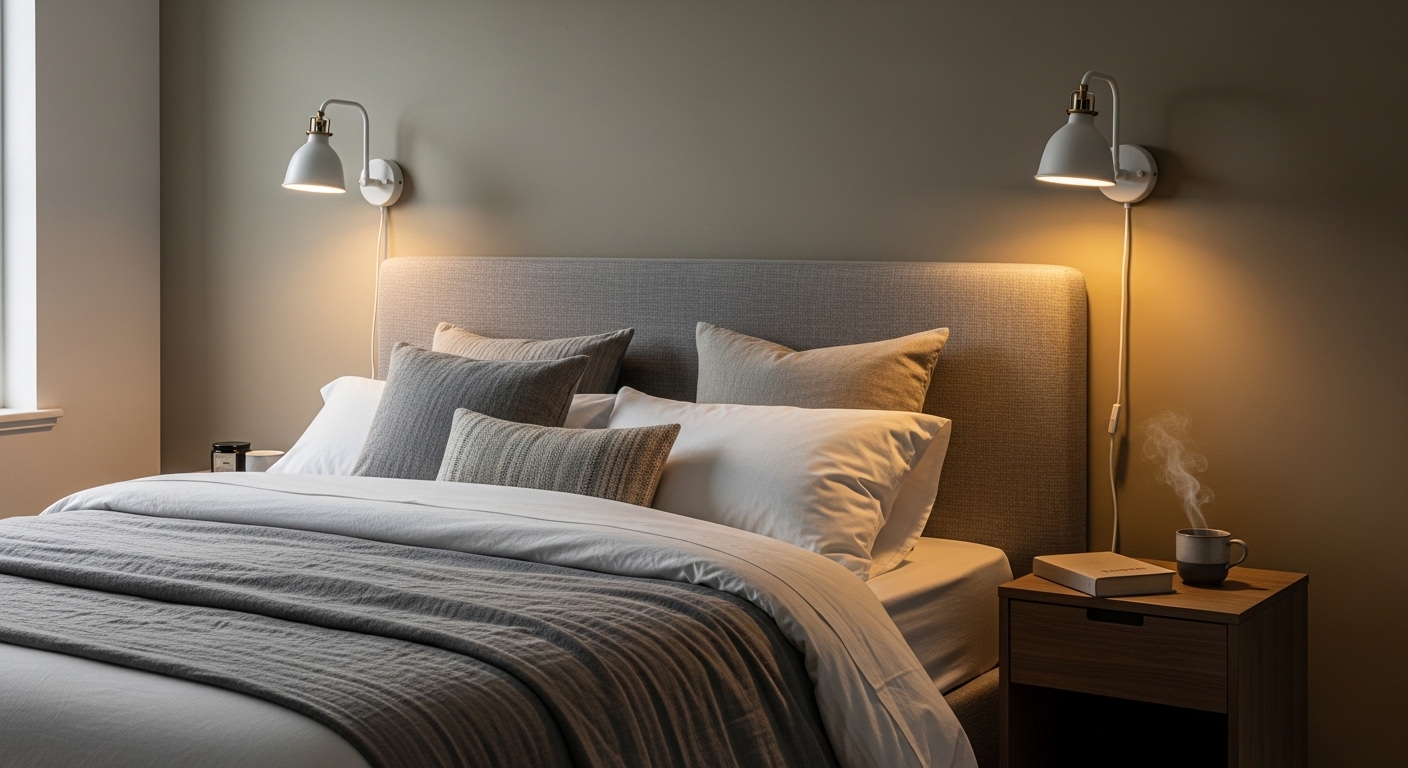
Shop plug-in sconces and bedroom sconces — the installation works identically for all of them.
Shop this post: plug-in wall sconces and bedroom wall sconces