My first fixture replacement was a disaster. I forgot to turn off the breaker (just the switch — wrong), touched a live wire, and spent the next hour with my heart racing and my hands shaking. Don't do what I did. Do this instead.
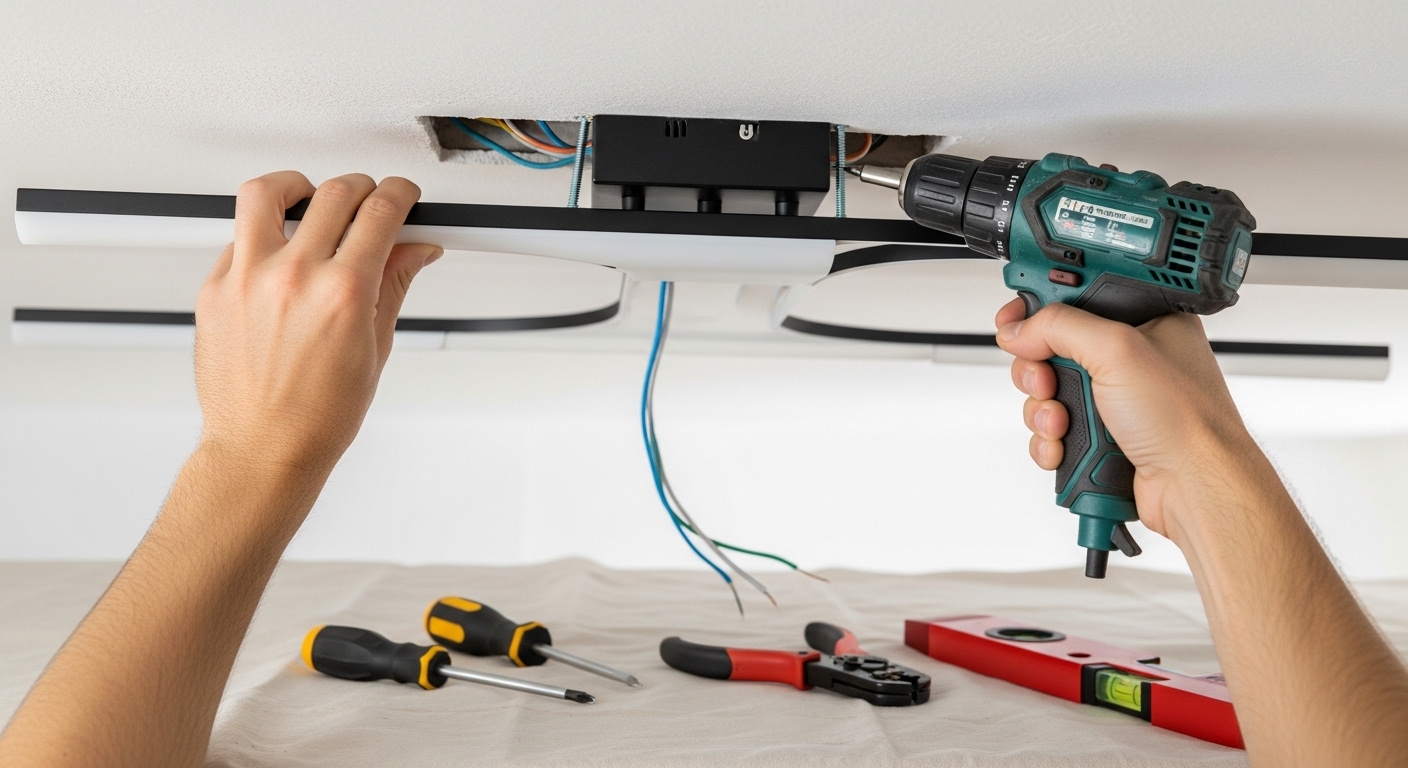
Step 1: Cut the Power at the Breaker
Not the wall switch — the breaker. The switch cuts power to the fixture but the wires in the ceiling box can still be live. Go to your panel, flip the breaker labeled for that room or circuit, then use a non-contact voltage tester at the box to confirm no power before you touch anything. This step is not optional.
Step 2: Remove the Old Fixture
Unscrew the canopy, lower it, and photograph the wiring before disconnecting. Unscrew the wire nuts, separate the connections. The old fixture comes down. Take a photo of the ceiling box and any existing hardware.
Step 3: Connect the New Fixture
Black to black, white to white, ground to ground. Twist wire nuts clockwise until snug, give each a firm tug to confirm the connection. Fold the wires up into the box, mount the new canopy per the instructions, restore power, and test.
The Most Common Mistakes
Not checking breaker vs. switch. Not photographing original wiring. Not testing connections before buttoning up. Add five minutes for each of these checks and you'll never have a problem. The job is genuinely simple — the safety steps are what make it so.
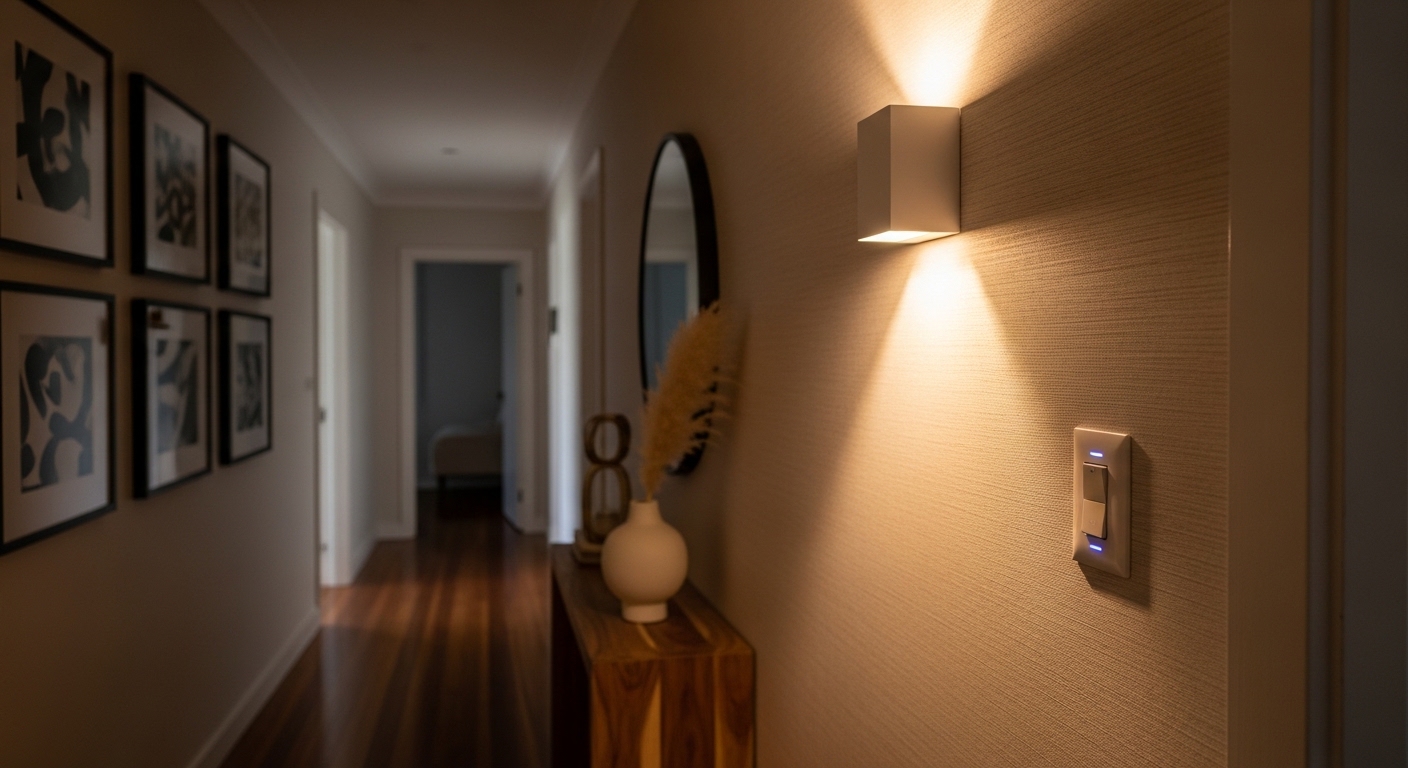
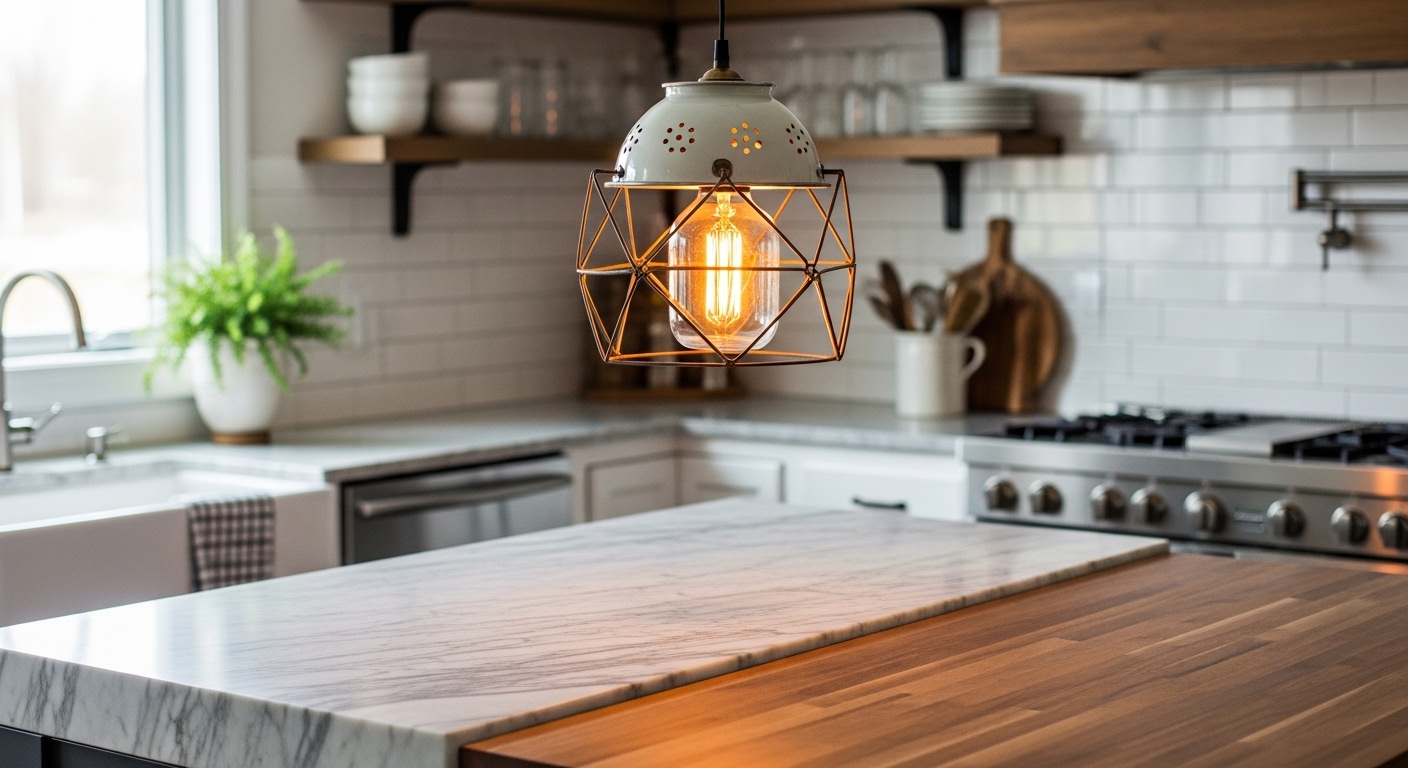
🔧 Shop ceiling fixtures and pendants — measure your canopy coverage before buying so the new fixture covers the old paint ring.
Shop this post: ceiling lights and pendant lights