Our brass entry chandelier was the right shape — a classic four-arm lantern — but the brass finish was hopelessly dated. Replacing it would have cost $120. Painting it cost $11 and took an afternoon.
Fixtures Worth Painting
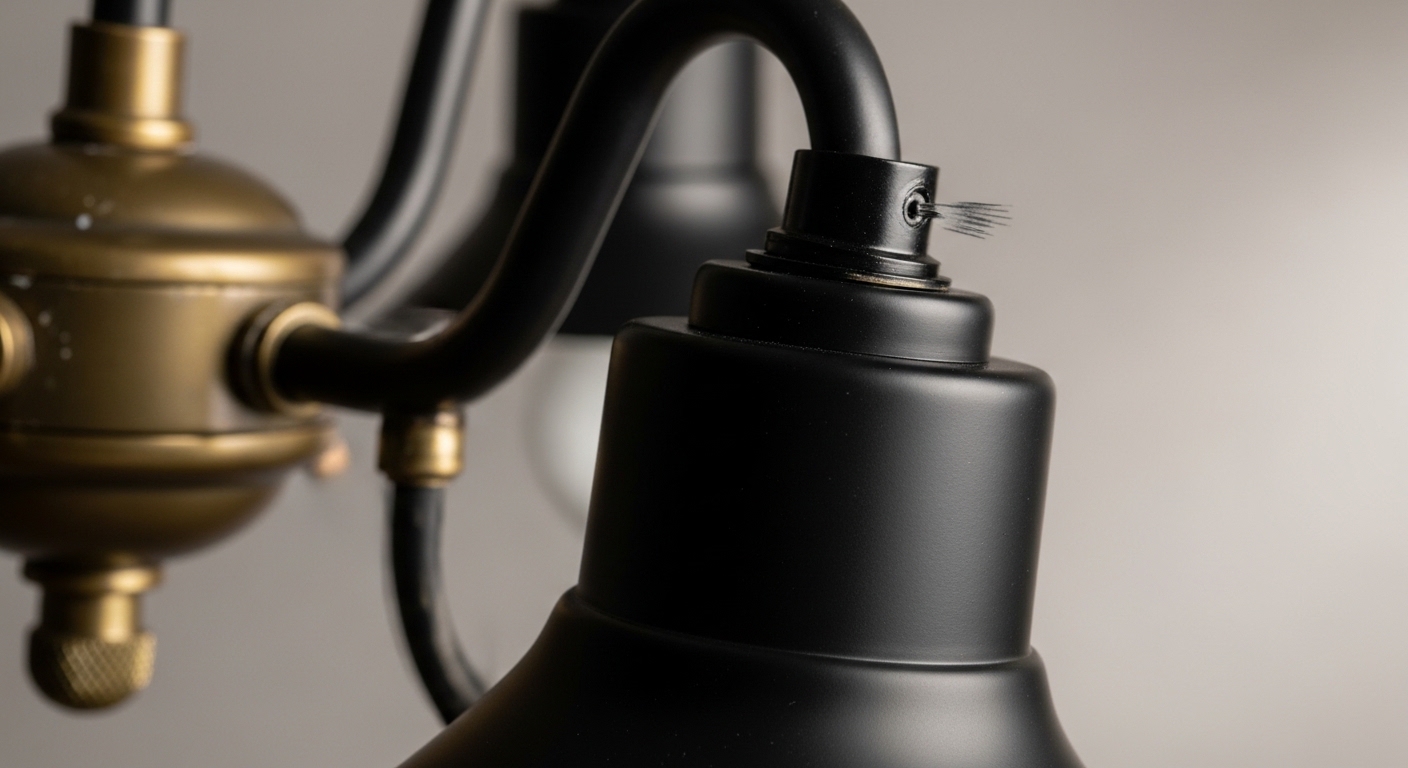
Solid metal construction. Interesting shape worth preserving. Finish that's ugly but not damaged. The brass lantern was all three. I've also successfully painted an iron chandelier, two chrome sconces, and a nickel flush mount. Every one turned out better than I expected.
The Process
Remove the fixture. Disassemble anything removable (globes, shades, diffusers). Tape off sockets and any non-metal elements. Sand with 220-grit to create adhesion. Wipe with a tack cloth. Apply metal primer in one light coat. Let dry 2 hours. Apply first finish coat. Let dry 2 hours. Second coat. Let cure 48 hours before handling. Reassemble and reinstall.
The Two That Failed
One plastic-bodied fixture (paint never adhered properly — peeled within two weeks). One fixture near a high-wattage bulb that got hot enough to yellow the paint on the socket area. Lesson: metal only, and check that bulb wattage stays within the fixture's rating after painting.
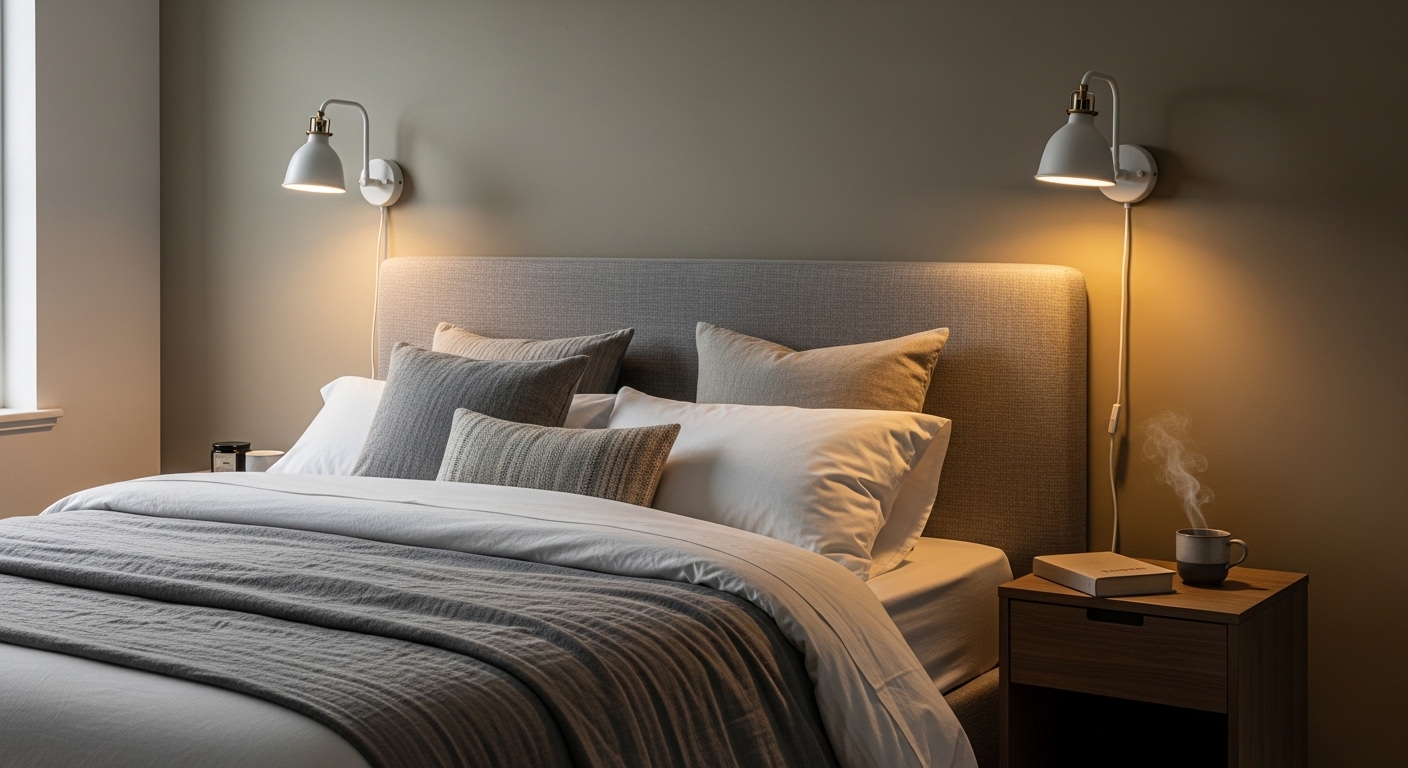
For new sconces when painting isn't worth it, there are many good options in the right finishes from the start.
Frequently Asked Questions
Can you spray paint a light fixture?
Yes — metal fixtures paint beautifully with the right preparation and paint. Clean thoroughly, sand lightly with 220-grit to create tooth, apply a metal primer, then two light coats of a metal-rated spray paint in your chosen finish. Rust-Oleum Universal in matte or satin finishes is the most durable for fixture use. Allow 24 hours between coats and 72 hours full cure before handling.
What light fixtures are worth painting?
Metal fixtures with interesting shapes — lanterns, caged pendants, iron chandeliers, drum frames — are excellent candidates. Avoid painting: fixtures with plastic components (paint peels off plastic), fixtures near heat sources (the paint near bulbs will yellow), fixtures with damaged wiring (painting without fixing the wiring first is wasted effort), and fixtures so inexpensive that buying new is cheaper than the paint and supplies.
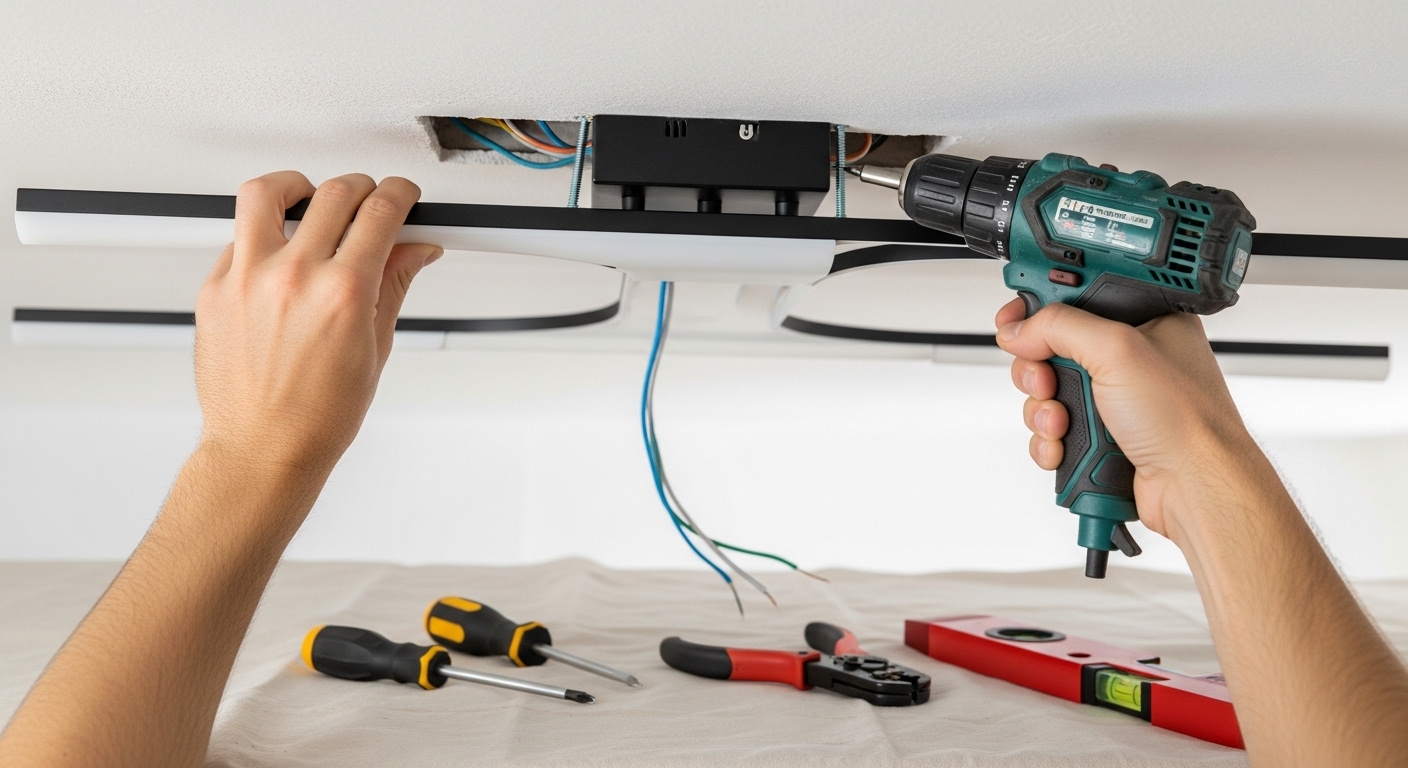
How do you paint a light fixture without taking it down?
Turn off the breaker, not just the switch. Cover the wiring, socket, and any glass components with painter's tape and paper. Apply primer and paint in thin coats with the fixture in place. This method works for stationary fixtures but produces inferior results to off-fixture painting — drips are harder to manage and coverage is less even. For best results, take the fixture down, paint it, let it cure, and reinstall.