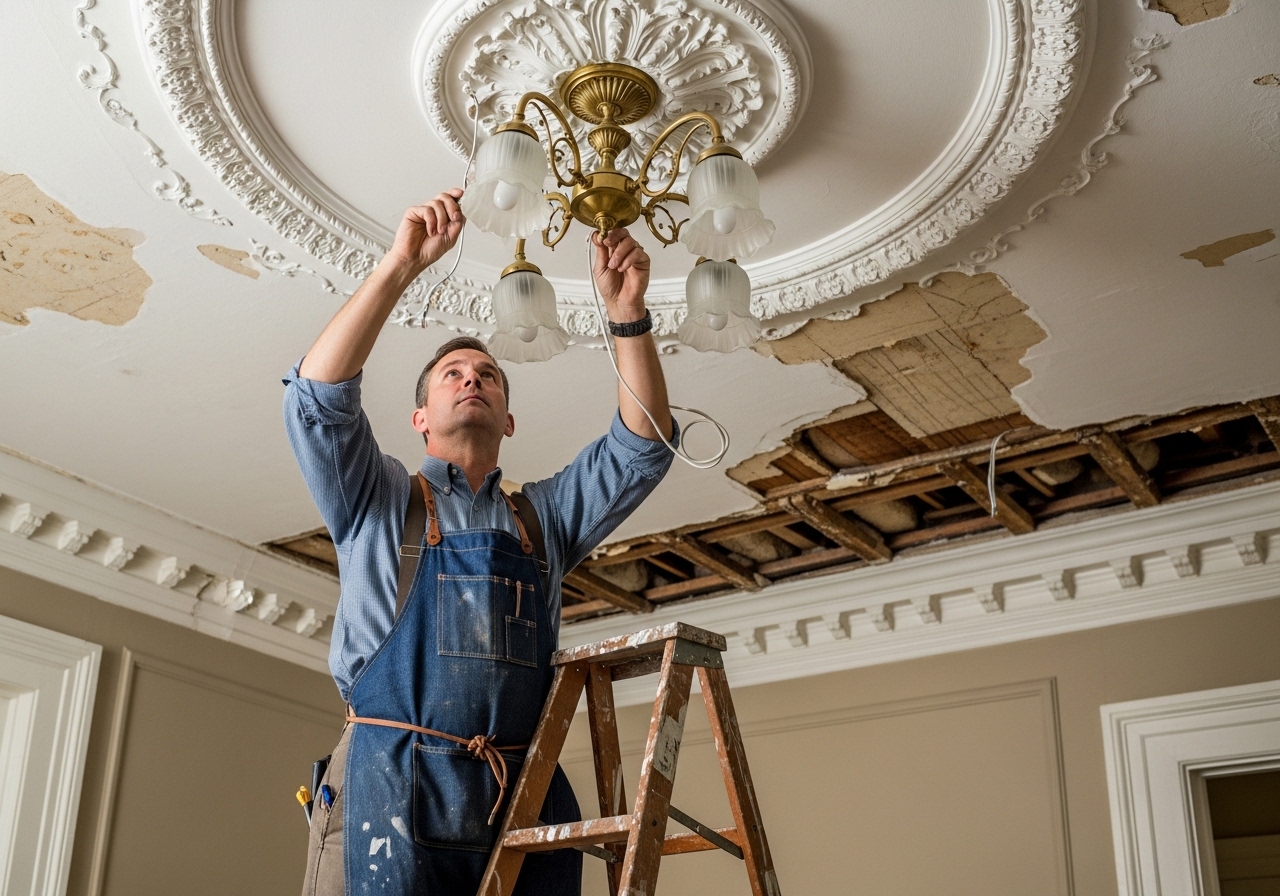
The bathroom renovation in our 1890s house took eleven months and approximately four changes of direction on the lighting. I want to tell you specifically about the third change. The one that was almost a significant, expensive mistake, because it's the kind of decision that looks reasonable until it isn't.
Bathroom pendant lighting was not on our original plan. We started with the intention of doing wall sconces flanking the mirror, which is the conventional approach and usually the correct one. But our bathroom has nine-foot ceilings (the original height. We didn't touch them), and the proportion of sconces against those ceilings in a narrow room felt wrong to us. The sconces we liked disappeared against the vertical space. The ones with enough visual presence were too ornate for what we were doing with the rest of the house.
Our contractor suggested we consider bathroom pendant lights as an alternative, pendant fixtures flanking the mirror instead of traditional sconces. I was skeptical. I'd only seen this in very contemporary bathrooms, and our bathroom is anything but contemporary. But I looked into it and found that bathroom pendant lighting has been used in historic home renovations with genuine success, especially in rooms with high ceilings where sconces can feel undersized.
The mistake we almost made, and then what we chose instead. That's what this post is about.
The Original (Wrong) Plan: The Chandelier
The mistake wasn't the pendant idea. The mistake was our initial response to the pendant idea, which was: if we're doing pendants, why not do something dramatic? We found a small-scale chandelier, about 18 inches wide, six arms, amber glass shades. That felt like exactly the kind of historic gesture the space deserved. We ordered it.
It arrived. We mocked it up (taped to the ceiling, rough position, not installed) and immediately saw the problem. The chandelier's 18-inch spread in a 7-foot-wide bathroom was proportionally overwhelming. The six arms pointing in different directions made the room feel chaotic. And the amber glass, beautiful in a catalog, turned the bathroom light a sickly yellow that made every color in the room look wrong.
We returned it without installing it. That was a cost and a hassle, but considerably cheaper than the alternative of realizing the problem after the electrical was roughed in.
The lesson: in a bathroom, dramatic lighting almost never works. Bathrooms are functional spaces first. The light needs to be clean, good for tasks (applying makeup, shaving), and proportionate to a space that is typically smaller than any other room in the house. Drama is for dining rooms and entryways. Bathrooms need clarity.
The Safety Question: IP Ratings and Bathroom Zones
Before we go further into what we chose, I want to cover the safety piece because it matters and I didn't know this when we started.
Bathroom pendant light fixtures need to be rated for bathroom use. In the US, the relevant standard is UL listing for damp or wet locations. The international IP (Ingress Protection) rating system is increasingly used as well and is more specific:
| Zone | Location | Required Rating |
|---|---|---|
| Zone 0 | Inside the tub/shower | IPX7 minimum |
| Zone 1 | Above tub/shower, up to 7.5 ft | IPX4 minimum |
| Zone 2 | 0.6m outside tub/shower rim | IPX4 minimum |
| Outside zones | General bathroom | Damp location rated |
Our pendants flank the mirror, which is several feet from the shower. They're in the "outside zones" category, damp location rated is sufficient. We verified this before purchasing and confirmed with our electrician during rough-in.
If you're considering pendants over a freestanding tub, you need a higher moisture rating. Check IP ratings carefully, and when in doubt, ask your electrician before buying.
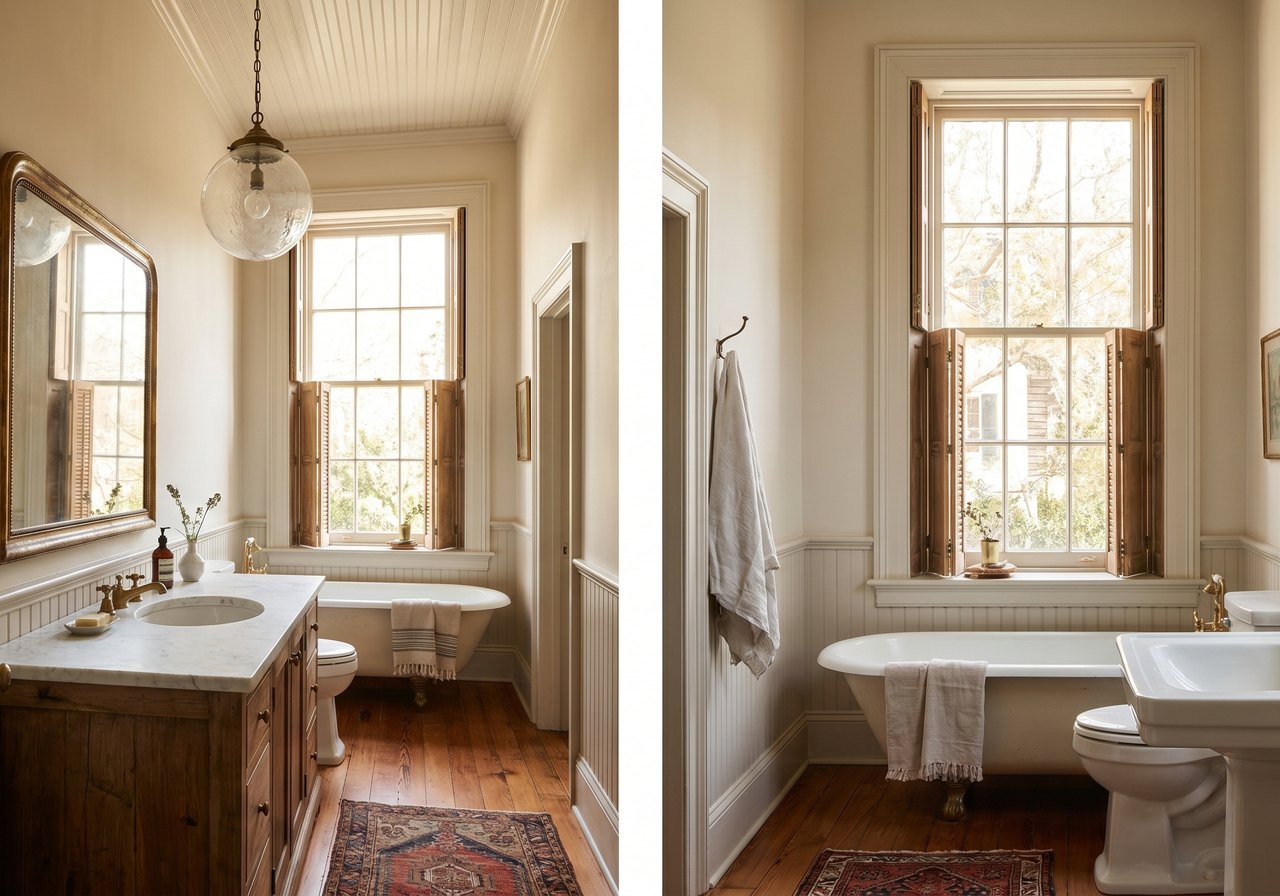
What We Chose: Glass Globe Pendants
After the chandelier mistake, we went in the opposite direction: as simple as possible. Clear glass globe pendants, minimal hardware, nothing fussy.
We ended up with the Rona glass pendant ($158.95 each), a clear glass globe on a simple brass stem with a cloth-wrapped cord. We hung two of them, one on each side of the mirror, at 62 inches from floor to center of the globe. At that height, they sit slightly above eye level when standing at the mirror, which gives good lighting without shining directly into your face.
The clear glass globe reveals the Edison-style LED filament bulb inside, which at 2200K gives the warmest, most flattering bathroom light I've experienced. I was prepared to miss the even illumination of traditional vanity sconces. What I found instead was that the warm filament glow flatters the complexion in a way that even good sconces rarely manage. We have a makeup mirror with separate lighting for precision tasks. The globe pendants are for everything else, and everything else feels like getting ready in a well-lit French hotel bathroom.
We also considered the Aada glass pendant ($119.95), which has a slightly frosted globe and produces softer, more diffused light. If you're sensitive to visible bulb filaments or prefer softer shadows, the Aada is the better choice. We preferred the Rona's clarity for our space, but both work well in bathrooms.
The Height and Placement Decisions
Bathroom pendant light placement is more demanding than most rooms because the mirror acts as a precise vertical axis. The pendants need to be symmetrical to the mirror center and positioned at a height that lights the face rather than casting shadows downward from the forehead.
The error I see most often in bathroom pendant installations: hanging too high. A pendant at 72 inches from the floor over a person standing at a vanity lights the top of their head, not their face. The whole point of flanking-mirror lighting is to put light at face level. For most adults, this means center of the globe at 60–65 inches from the floor.
We hung ours at 62 inches. Our bathroom counter is 34 inches high; the mirror starts at 40 inches. The center of the Rona globe sits at 62 inches, which is about 12 inches above the mirror's bottom edge. From that position, the light falls across the face rather than down onto it. For our first few days living with it, I kept stopping at the mirror because the light quality was so much better than I expected.
For horizontal placement: the globes are centered on the mirror edges, 8 inches to the outside of each edge. This was our electrician's recommendation and it's close to the standard guidance, close enough to the mirror that they read as vanity lighting, far enough that you don't see glare when looking directly at the mirror.
We also covered the general bathroom lighting approach in the bathroom lighting for morning routines post, which gets into more detail on task lighting vs. ambient lighting in bathrooms. The pendant decision is one piece of the larger strategy covered there.
The Dimmer Question
We put the bathroom pendants on a dimmer, and it was the right call. Bathroom lighting is used at vastly different times of day for vastly different needs: early morning getting ready (need full brightness), midday (moderate), evening wind-down (dim enough to not feel harsh), middle-of-the-night trips (as dim as possible without being useless).
The Rona and Aada both work with standard LED-compatible dimmers. We used a Lutron Diva dimmer. The same one we installed throughout the house in the dimmer switch weekend project. At 20% brightness with 2200K filament bulbs, the bathroom at 2am is genuinely comfortable. At 100%, it's fully functional for detailed tasks. The range matters.
"At 20% brightness with 2200K filament bulbs, the bathroom at 2am is genuinely comfortable."
What I'd Do Differently
Two things.
First: I'd have the electrical roughed in for pendants on day one of the renovation instead of adding it partway through when we changed direction from sconces. Adding it mid-renovation cost us an extra visit from our electrician and required reopening a section of drywall we'd already patched. Plan for pendants from the start if there's any chance you'll want them.
Second: I'd skip the chandelier entirely and go straight to the globe pendants. We spent three weeks considering the chandelier, ordered it, received it, tested it. And returned it, all of which could have been avoided by being more honest about what the bathroom needed from the beginning. The bathroom needed clarity and warmth, not drama. Glass globes provide both. A chandelier provides neither.
For anyone renovating a historic bathroom with high ceilings who is considering lighting: the pendant option is worth serious consideration, but go simple. The architecture is already complex enough. Clear glass or frosted glass, minimal hardware, warm bulb temperature. Those three decisions will get you most of the way to a bathroom that feels genuinely exceptional.
See the budget vanity lighting post for the less-expensive version of these decisions. Many of the same principles apply at a lower price point.
Living With the Choice
Months in, the glass globes still feel like the right call. They throw soft, even light that's kind first thing in the morning, they wipe clean in a humid room, and they read as intentional rather than builder-default. If I were doing it again the only thing I'd change is adding a dimmer from the start. So the room can go from bright for getting ready to a low glow for a late bath.
What It Cost
The whole change, a pair of damp-rated glass fixtures, warm bulbs, and a bit of wiring, came in well under what a tile or vanity job would, and it's the change guests actually notice. In an old bathroom where the big systems are sound, lighting buys the most visible improvement per dollar.
Shop this post: Rona glass pendant and Aada glass pendant