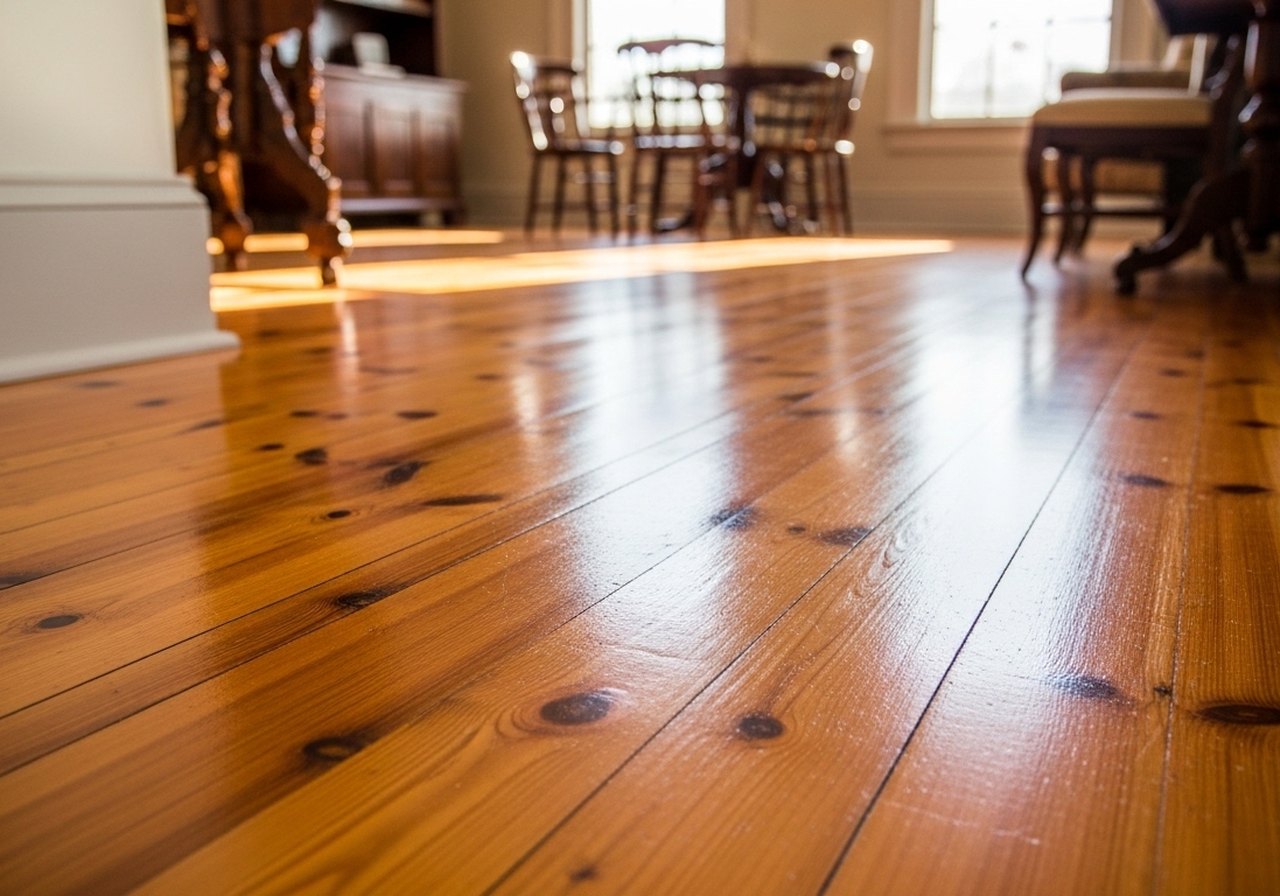
There is a specific moment in refinishing heart pine floors when you realize you've made a decision you can't take back. It happens on the third pass with the drum sander, when you've cut through the old finish and the gray surface layer and you're seeing the actual wood underneath for the first time in probably sixty years. The grain opens up, tight, almost ceramic-looking, with a deep amber undertone that new-growth pine simply doesn't have. And you understand why people say these floors are irreplaceable. You also understand why refinishing heart pine is different from refinishing any other floor. This wood is denser, harder, and less forgiving than what the sanding guides on YouTube are written for.
We refinished all 1,400 square feet of original heart pine floors in our 1892 Charleston single house over two weeks, doing the work ourselves with rented equipment. This is what we learned.
What Heart Pine Actually Is. And Why It Matters for Refinishing
Heart pine is not a species. It's a cut location: the dense, resin-saturated heartwood of old-growth longleaf pine trees, most of which were harvested in the American South between roughly 1850 and 1930. The heartwood of a mature longleaf pine is almost nothing like the pine you buy at a lumber yard today. It's saturated with resin, which makes it extremely hard, naturally resistant to moisture and insects. And visually distinctive with its tight growth rings, sometimes 50 or more rings per inch in very old-growth wood, compared to 3–6 rings per inch in modern farmed pine.
Our floors are 3-inch-wide, face-nailed planks, typical for a Charleston single house of this era. They're about 1 inch thick, slightly thicker than the 3/4-inch standard for modern hardwood floors, which gave us a little margin for sanding. The floors had been refinished at least twice before we bought the house. The top layer was a yellowed polyurethane from the 1970s or 80s. Below that, old shellac. Below that, bare wood.
The high resin content that makes heart pine so durable also makes it tricky to refinish. The resin clogs sandpaper quickly, causing it to glaze rather than cut. It can also interfere with some finishes, particularly oil-based products, which can take much longer to cure on resin-saturated wood. These are the two main technical challenges that distinguish heart pine from refinishing oak or maple.
Should You DIY or Hire a Professional?
I want to answer this honestly, because the internet is full of both "it's easy, just rent a sander" enthusiasm and "always hire a pro" caution that doesn't help you make an actual decision.
We DIY'd because the quotes we got were between $6.50 and $8.00 per square foot for professional refinishing, which on 1,400 square feet came to $9,100–$11,200. Our total DIY cost, equipment rental, sandpaper, finish, supplies, was $1,380. We saved roughly $8,000 by doing the work ourselves. For most people in our situation, I'd make the same call.
But: I would not DIY on floors that have already been heavily sanded before or that feel thin when you tap them. Sanding heart pine too aggressively, cutting below the surface patina into the actual wood grain, can cause "sanding chatter," where the drum sander leaves washboard marks that are extremely difficult to remove. The solution is to start over with a coarser grit, which removes more wood and costs you more of the finite thickness that can never be replaced. When in doubt, hire a professional with specific heart pine experience, not just hardwood floor experience in general. Heart pine behaves differently and the experienced pros know it.
The Grit Sequence That Actually Works on Heart Pine
Standard hardwood floor refinishing often starts at 36-grit. On heart pine, I'd recommend against this. The wood is hard enough that 36-grit is rarely necessary unless you're dealing with significant level variation between boards. And the deep scratches 36-grit leaves require several additional passes to eliminate. We started at 60-grit and it was the right call.
Our sequence, which worked well:
- Pass 1: 60-grit on the drum sander, with the grain. This removes old finish and the gray surface layer without over-aggressively cutting into the wood.
- Pass 2: 80-grit on the drum sander, again with the grain. This removes the 60-grit scratches.
- Pass 3: 100-grit on the drum sander. This is where the wood really starts to look like something. The grain opens, the color comes through.
- Edges: 60-grit, 80-grit, then 100-grit with the edge sander. Edges are the hardest part. The cross-grain scratches on two sides of every room need to be hand-sanded out afterward.
- Final: 120-grit on a random orbital sander by hand, with the grain, across the entire floor. This eliminates remaining scratches and leaves a uniform surface before finishing.
Change your sandpaper more often than you think you need to. Heart pine's resin clogs paper fast, and glazed paper doesn't cut. It just heats the surface. A glazed drum can actually burnish the wood, which interferes with finish adhesion. We went through about 35% more sandpaper than we'd budgeted for. Budget generously.
The Finish Decision: Oil vs. Water-Based Polyurethane
This is where I spent the most time researching, and where I have the strongest opinion.
Oil-based polyurethane gives heart pine a warm, amber tone that enhances the wood's natural color. It dries slowly, 24 hours between coats. And the fumes are significant. On resin-saturated wood, it cures reliably but slowly; on very resin-rich floors, full cure can take 30 days or more before area rugs are safe to lay down.
Water-based polyurethane dries faster (4–6 hours between coats), has much lower fumes, and won't yellow over time. On heart pine, the natural amber color is part of the appeal, and water-based poly can make the floor look slightly grayer. On resin-heavy wood, water-based poly can also struggle with adhesion on the first coat if resin content is very high.
We used Bona Mega, a water-based commercial finish, for three reasons: lower fumes (we have a dog), faster return to foot traffic, and Bona's documented reputation for adhesion on resinous woods. We applied three coats, sanding with 120-grit screen between coats one and two. The result is a matte-to-satin sheen that looks close to historic.
What I'd do differently: apply a wash coat of dewaxed shellac before the first coat of water-based poly. This seals the resin and significantly improves adhesion. We skipped it because a floor guide told us it wasn't necessary. I've since talked to a professional floor finisher who works exclusively on heart pine and longleaf floors in Charleston. He considers the shellac wash coat essential. We had no adhesion problems, but I think we were somewhat lucky.
What We Actually Spent
| Item | Cost |
|---|---|
| Drum sander rental (5 days) | $280 |
| Edge sander rental (5 days) | $160 |
| Random orbital sander rental (5 days) | $80 |
| Sandpaper (drum, edge, orbital) | $310 |
| Bona Mega finish (3 gallons) | $240 |
| Applicators, tack cloths, tape, supplies | $95 |
| Respirators (N95 for dust, OV/P100 for finish) | $85 |
| Floor repair supplies (patches, wood filler) | $130 |
| Total (1,400 sq ft) | $1,380 |
That's approximately $0.99 per square foot in materials and equipment, versus $7.00+ per square foot for professional refinishing. On 1,400 square feet, the saving was real money that went toward other things, like the kitchen renovation that ate more of our budget than anything else.
What We Found Under the Old Finish
One thing nobody tells you before you start sanding old floors: you will find things. We found a child's name scratched into a board under a closet, "Edmund, 1904." We found a section in what was probably a butler's pantry where the wood had been stained dark walnut under the original shellac. And the stain was deep enough that three passes with the sander barely touched it. That section of floor is now slightly darker than the rest of the room, which I've decided to consider character rather than a defect.
We also found one board replaced mid-century with new-growth pine, straight grain, almost no ring density. It's impossible to match perfectly because the original heart pine doesn't exist for purchase at the same density. We replaced it with a reclaimed heart pine board from a salvage dealer in North Charleston: $45 for a 3-foot section. And it matches well enough that most visitors don't notice.
The Problem Spots: What to Watch For
Cupped boards: A few boards had cupped slightly, raised at edges, lower in the center, from moisture over the years. Sanding across a cupped board removes material from the edges first and can leave the center unsanded or create a washboard effect. The solution is a very light diagonal pass at 45 degrees (80-grit) before going with the grain. Counterintuitive but effective.
Squeaky boards: We had 11 squeaky boards. The right fix before refinishing is to face-nail them with ring-shank nails, countersink the nails, and fill with color-matched wood filler. We tried the "inject construction adhesive from below" method on four of them and it worked on two. Face-nailing is more reliable.
Paint drips: Several spots had paint drips from prior paint jobs. A cabinet scraper is the right tool here, not a sander. Sanding over a paint drip just spreads it and loads the paper with paint that can deposit on clean wood. Scrape first, then sand.
How the Floors Look Now
Like what they are: old-growth longleaf heart pine floors in a 130-year-old house, refinished to show their actual character rather than hidden under layers of old finish and oxidation. The color is warm amber-gold, darker in areas with more direct sun, lighter in the north-facing rooms. The grain is tight enough to look almost stained, but it's not. That's the natural resin and density of the wood.
Refinishing these floors was the single best thing we did in this renovation. Better than the kitchen, better than any lighting decision, better than any single purchase. The floors are the house. Everything we put on top of them is secondary to the quality of what they're sitting on.
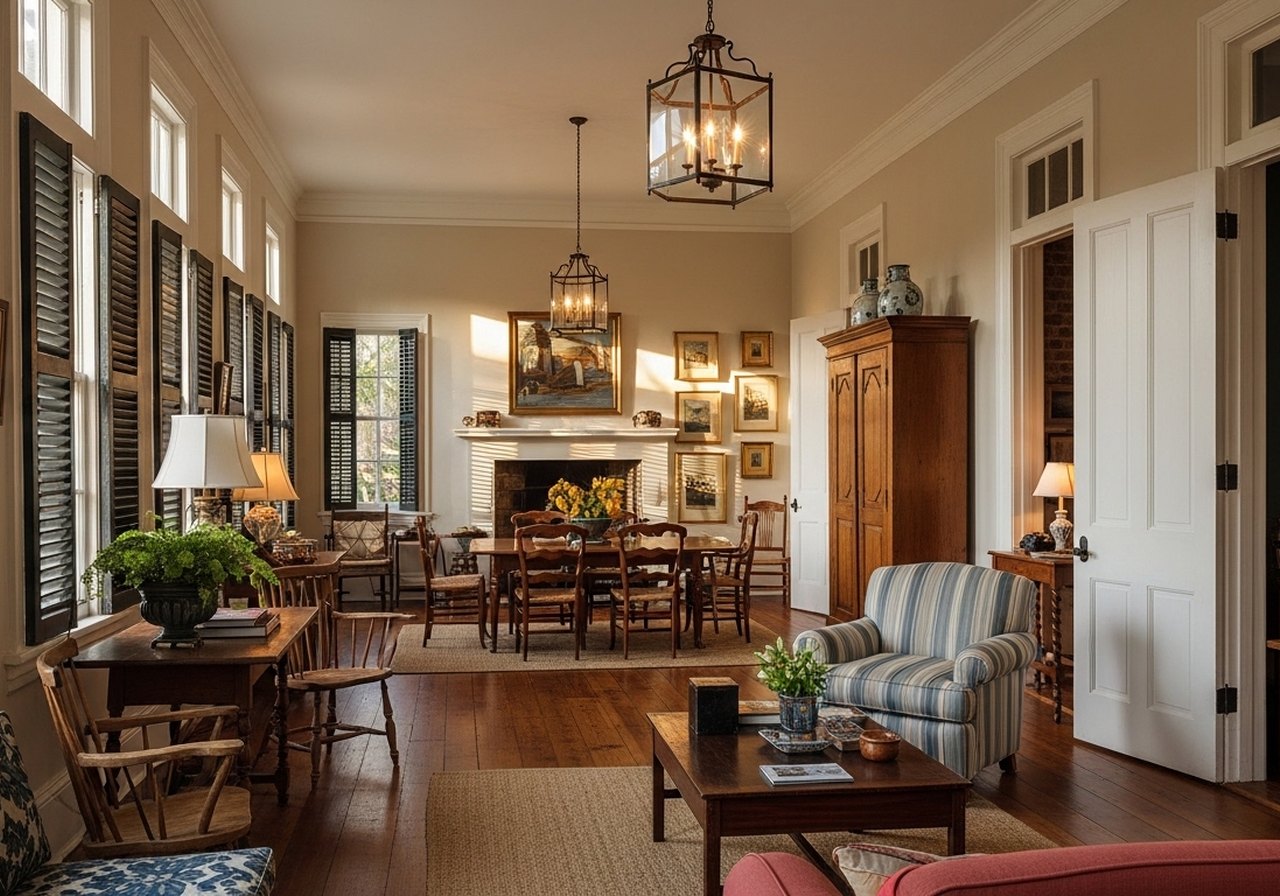
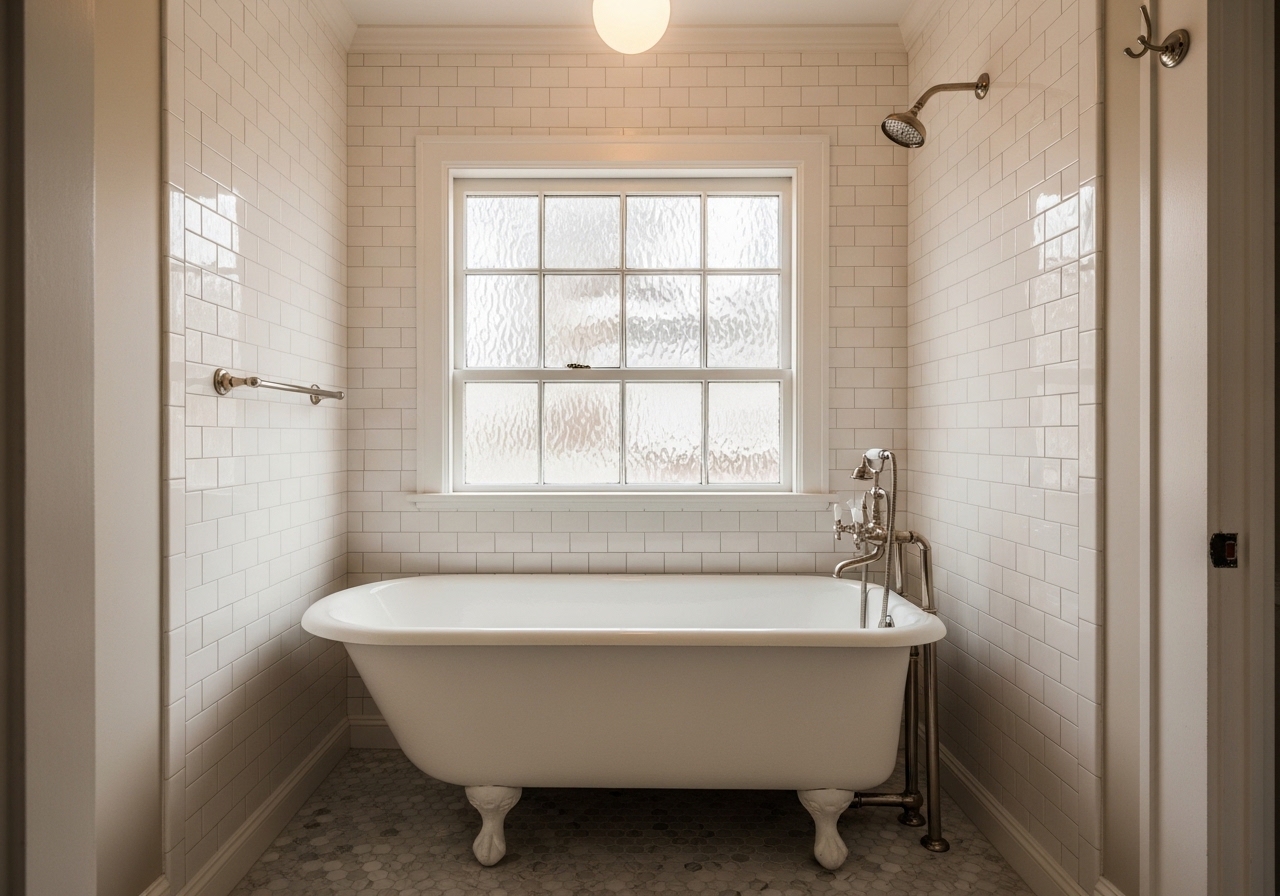
Also relevant: For the full renovation context, read our first year owning a historic home. For other material decisions, see the clawfoot tub bathroom renovation and our experience installing grasscloth wallpaper in the entry hall.
Quick Answers
Can you refinish heart pine floors yourself?
Yes, if the floors are at least 3/4 inch thick and haven't been heavily sanded before. Start at 60-grit rather than 36-grit, heart pine is hard and 36-grit leaves scratches that need extra passes to eliminate. The main risk is sanding chatter or going too deep; work slowly and check progress frequently. On floors that are thin or uncertain, hire a professional with specific heart pine experience.
What's the best finish for heart pine floors?
Water-based poly (like Bona Mega) or a penetrating oil finish are both good. Water-based cures faster and won't yellow over time. Oil-based enhances the amber warmth but cures slowly, sometimes 30 days on very resin-heavy old heart pine before rugs are safe. Whichever you choose, apply a dewaxed shellac wash coat first to seal the resin and improve adhesion.
How much does refinishing heart pine floors cost?
DIY runs about $1.00–$1.50 per square foot for equipment rental, sandpaper, and finish. Professional refinishing in Charleston typically runs $6.50–$8.50 per square foot. On 1,000–1,500 square feet, the DIY savings are $5,000–$10,000, real money, but only worth it if you can invest the 10–14 days of physical work.
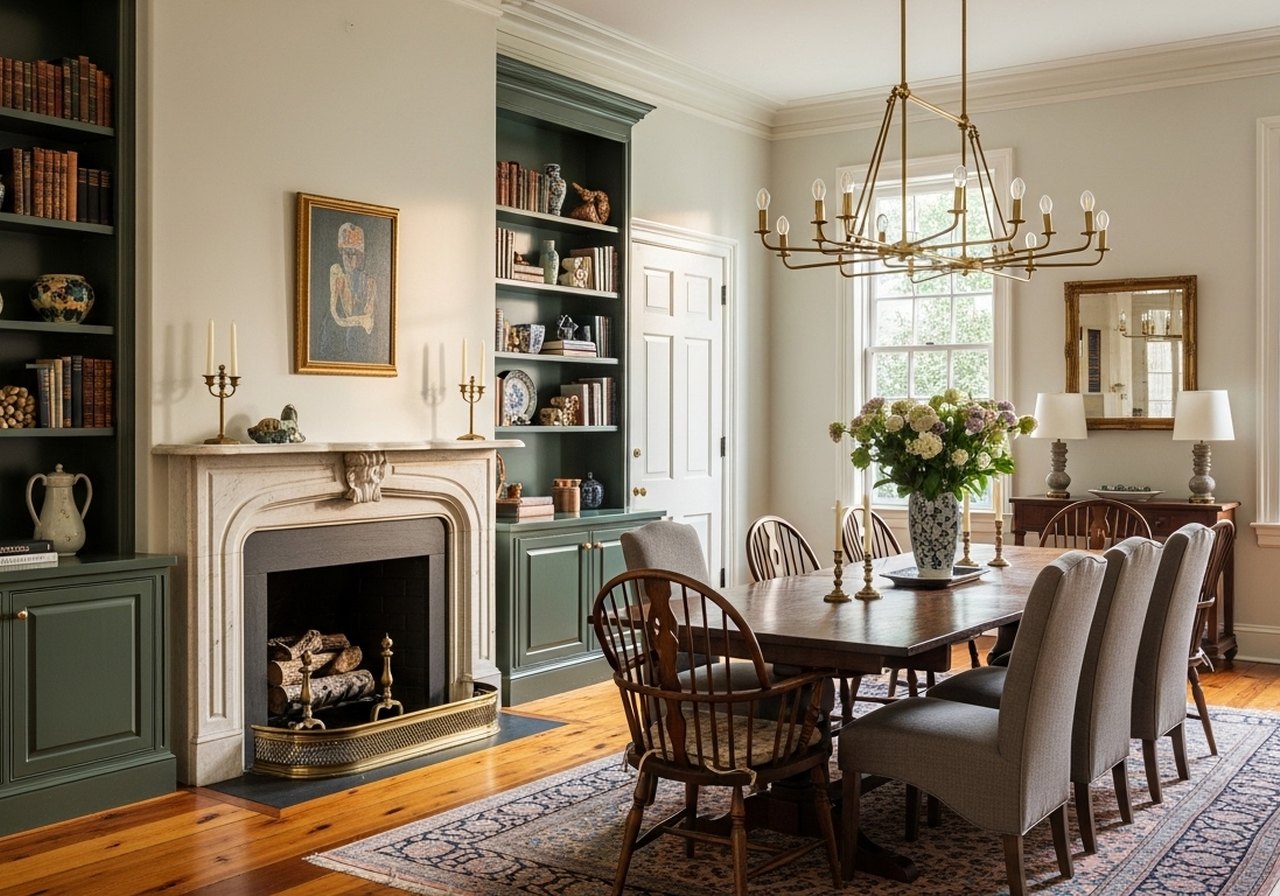
One discovery: the floors look completely different under warm versus cool light. Changing the dining room's ceiling light fixture to a warmer bulb made the floors finally look like what we paid for.
The lighting for this room connects to the dining room renovation, our dining room lighting post has the full picture.
Why Heart Pine Is Worth Saving
Original heart pine is dense, warm, and irreplaceable, and refinishing restored its honey tone for a fraction of replacement. It's one of the highest-impact restoration projects in an old Southern home. The floors set the warmth that everything else, including the lighting, plays off.
Sanding and Finishing Without Wrecking It
Heart pine is softer than oak, so it gouges easily. We sanded progressively through grits and, for the big floors, leaned on a pro for that step. An oil-based finish deepened the amber warmth; a water-based one would have kept it lighter. Either way, felt pads, rugs in traffic paths, and humidity control protect the result.
Shop this post: ceiling light fixture