Our kitchen renovation cost $47,000 and took 14 weeks. The budget we gave our contractor at the start was $30,000. I'm telling you that upfront because I want this to be a useful post, not a pretty one. And the most useful thing I can tell you about renovating a kitchen in a historic home is that it will cost more than you think, take longer than you plan, and reveal problems you didn't know existed until the walls are open. None of that is a reason not to do it. Our kitchen is now the room we love most in the house. But I want you to go in with your eyes open.
This is the full account of our historic home kitchen renovation in our 1892 Charleston single house, what the original space looked like, what decisions we made and why, what went wrong. And what I'd do differently if I were starting over.
What We Started With
The kitchen we inherited when we bought the house was a 1980s renovation that had been done cheaply and showed it. The cabinets were builder-grade oak in a honey finish that had been fashionable in 1986 and not since. The countertops were Corian in an off-white that had yellowed and scratched. The floor was vinyl tile. The appliances were all different heights and different shades of white, none of them white in the same way.
The bones were actually reasonable. The room is 12 by 14 feet with 9-foot ceilings (lower than the main rooms in the house, as was typical for service spaces in Charleston single houses of this era), one window over the sink. And the original chimney chase on the east wall from the fireplace stack. That chimney chase was interesting. It was framed out in drywall, making it look like a blank wall about 18 inches deep. We had no idea what was in it until we opened it up. More on that shortly.
The layout was a galley with cabinets on two facing walls and the sink on the window wall. It functioned, barely. There was no island, no real prep space, and no place to put anything that wasn't in a cabinet. The refrigerator was wedged into a corner at an angle that made the door hit the adjacent cabinet when you opened it. It was a kitchen that had been tolerated for decades, not used.
The Layout Decision: Why We Didn't Move the Walls
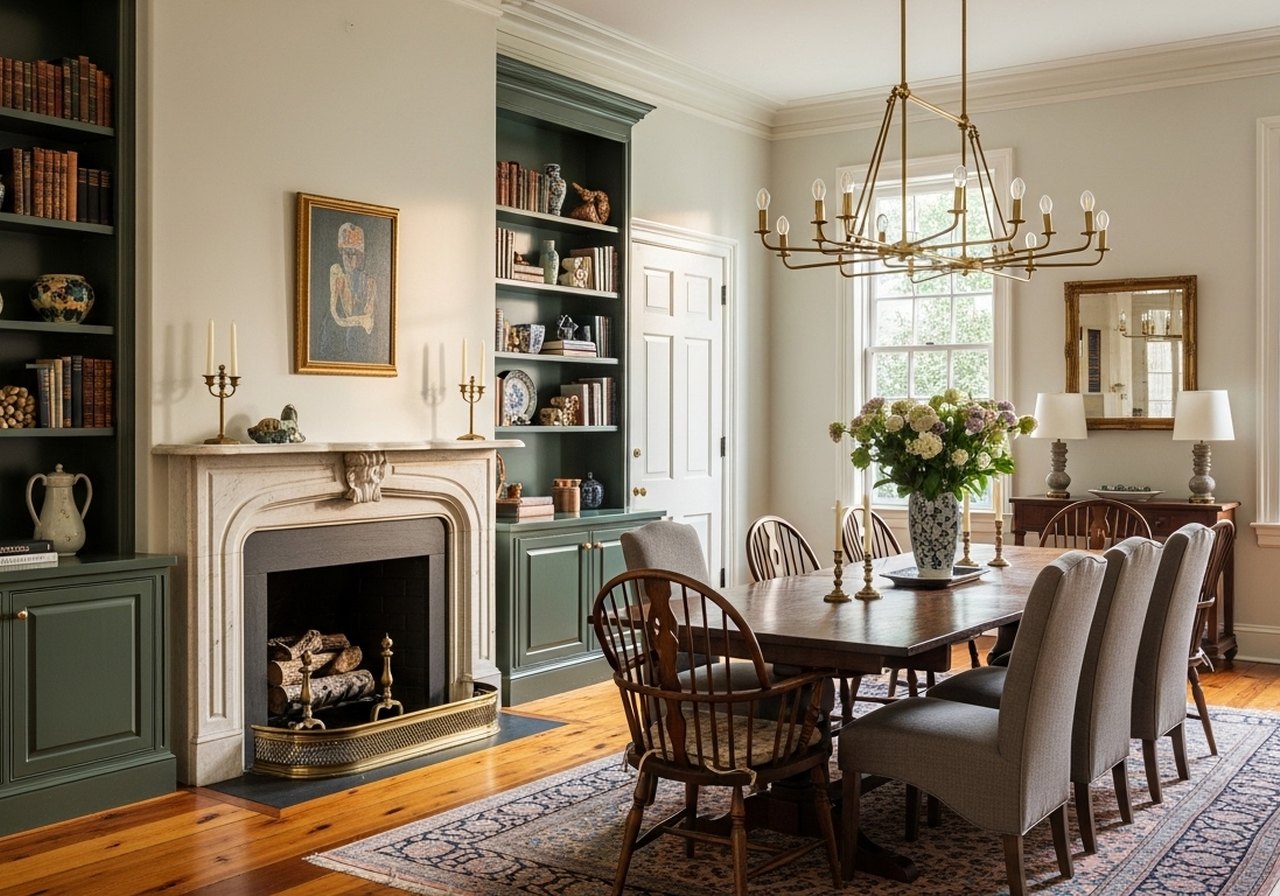
The first thing we talked about with our contractor was whether to open the kitchen to the dining room by removing the wall between them. In a lot of renovations, this would be the obvious move, take out the wall, get an open plan, make the spaces feel larger and more connected.
We decided not to, for two reasons. First, the wall is load-bearing. The dining room and kitchen are on opposite sides of a central wall that runs the length of the house, which in a Charleston single house carries a significant portion of the roof load. Removing it would require a steel beam and an engineer, and the quotes we got added $18,000–$22,000 to the project for that one change. Second, and more importantly, the historic character of the house is defined partly by these distinct rooms. The separation between kitchen and dining room is correct for the period. Open-plan kitchens feel right in a 1990s suburban house; they feel wrong in a house built when the kitchen was a service space designed to be separate.
Instead, we widened the existing doorway between kitchen and dining room from 30 inches to 42 inches, which cost $2,800 and made an enormous difference in the feeling of connection without removing the architectural character of the separation. That widened doorway was one of the best decisions we made in the whole project.
The Cabinet Decision: Why We Chose Inset Over Overlay
In a historic home, the choice between inset and overlay cabinetry is not just aesthetic, it's historically meaningful. Original kitchen cabinetry in houses of this era was inset: the door sits flush inside the cabinet frame, which requires more precise construction but produces a flat, refined face. The overlay construction that dominates modern kitchens, where the door overlaps the frame, is a mid-century cost-cutting development. In a house built in 1892, overlay cabinets are an anachronism.
We went with inset Shaker-style cabinets in an off-white (Benjamin Moore White Dove, which we also used on the trim throughout the house for consistency). Inset cabinets cost approximately 15–20% more than comparable overlay cabinets for the same wood species and construction quality. On our project, that difference was about $2,400. It was worth it.
The hardware decision took longer than the cabinet decision. We went with unlacquered brass. The same material we used on the door hardware throughout the house. And I've written a full post about our unlacquered brass hardware review that covers what we bought, how it's aging, and what I'd change. The short version: unlacquered brass develops a patina over time that looks better than the original finish. It's the right choice for a historic home. It's the wrong choice if you want everything to look identical forever.
The Surprise Inside the Chimney Chase
When our contractor opened the framed chimney chase on the east wall, expecting to find either the original brick chimney or a void, he found the original brick chimney plus a cast iron cleanout door, a colony of carpenter bees that had been living there since at least the 1990s based on the accumulated frass. And a section of original horsehair plaster wall that had been encased rather than removed when the 1980s renovation was done.
The carpenter bees required a pest control specialist and a two-week wait before we could proceed. The original brick chimney was structurally sound and became a design feature. We exposed it rather than framing it back out, which added warmth and texture to the east wall. The horsehair plaster section was removed; it had cracked significantly and wasn't salvageable in its location.
The delays and remediation for the chimney chase cost us $3,800 and pushed the project back three weeks. This is the kind of thing that is impossible to budget for in advance because you genuinely don't know what's inside the walls until you open them. The right mindset for a historic home renovation is to build a contingency reserve. We recommend 20–25% of your initial budget, specifically for discoveries like this. We had planned 15%, which was not enough.
The Countertop Decision: Marble vs. Quartzite vs. What We Actually Chose
In a historic home, soapstone and marble are the historically appropriate countertop materials for a kitchen of this era. Soapstone was common in late-19th-century kitchens in the South because of its heat resistance and the fact that it doesn't stain from acidic foods. Marble was used in higher-end homes, particularly for baking surfaces.
We looked seriously at soapstone, specifically at Virginia Mist from Greenfield Soapstone in Virginia, which is a dark gray-green material that would have looked wonderful with our white cabinets and unlacquered brass hardware. The cost for our approximately 45 linear feet of countertop in 1.5-inch-thick soapstone was quoted at $8,200 installed. That was within budget.
We went with Taj Mahal quartzite instead, at $7,400 installed. The reasons: quartzite is harder and less porous than soapstone, requires no oiling. And the warm white color of Taj Mahal reads as historically plausible while also making the kitchen feel larger and lighter. It's not what would have been there in 1892, but neither is our six-burner gas range, and I've decided that some anachronisms are worth making for practicality.
What I'd do differently on the countertops: I'd spend more time with the actual slab before committing. We chose from a small sample and the installed slab was significantly more veined than the sample suggested. It's not a problem. The veining is part of the character. But I'd want to know what I was getting before the slab was cut.
The Lighting Plan We Got Right
If you've read my post on starting with lighting in a historic home renovation, you know I believe the lighting plan should come before any other design decision. In the kitchen, we followed our own advice: we planned the electrical before anything else.
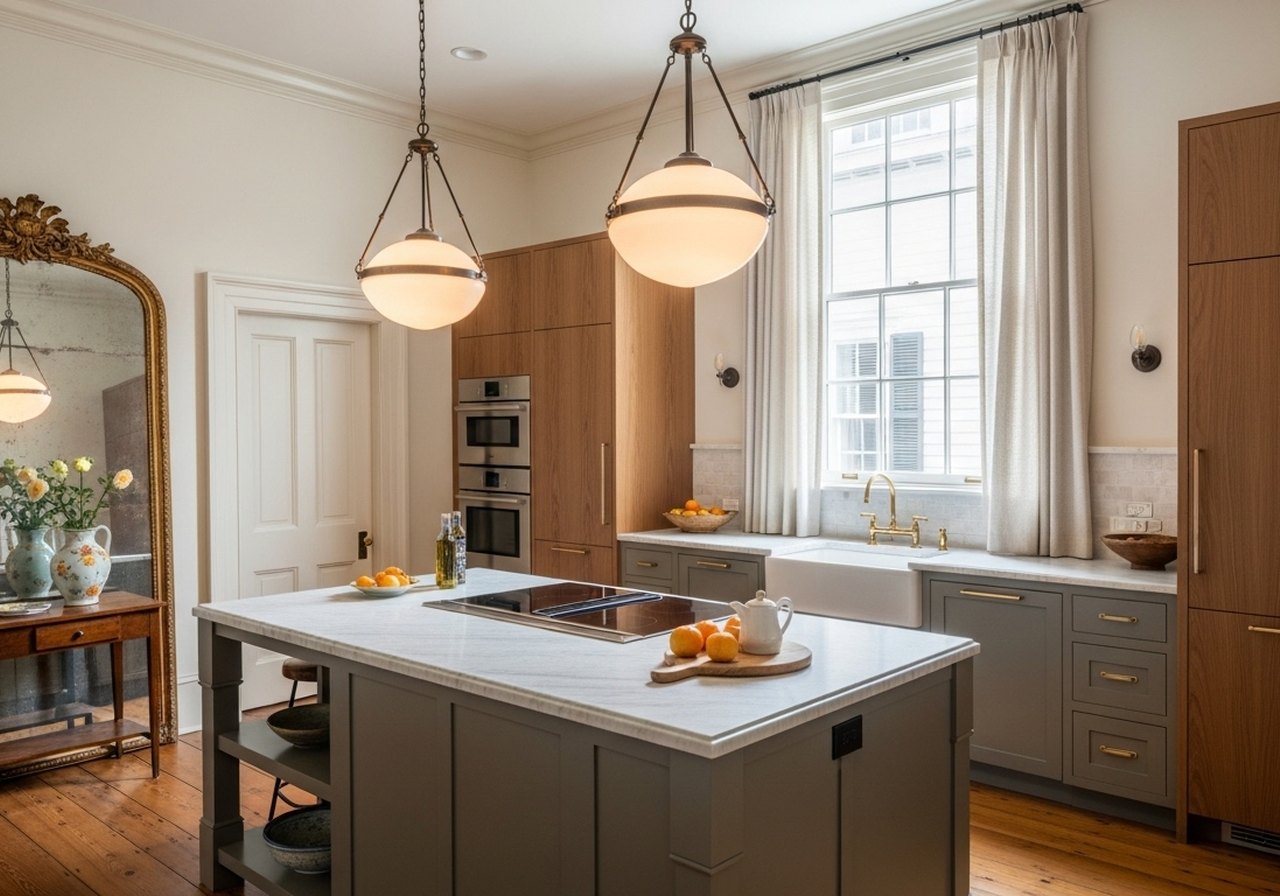
Our kitchen lighting has three layers. Overhead: two 10-inch semi-flush fixtures on a dimmer, positioned over the two work zones rather than centered in the room. Under cabinet: LED strips under all the upper cabinets, on a separate dimmer, at 3000K (slightly cooler than the 2700K we use in the rest of the house, because you need to see what you're doing when you're cooking). Pendant: two pendants over the island, hung at 31 inches above the countertop surface, which I cover in detail in my guide to pendant light height over a kitchen island.
The decision we're most glad about in the kitchen is the three-layer lighting system. Before the renovation, the kitchen had one ceiling fixture in the center of the room and no under-cabinet lighting. Every counter was in shadow. Cooking in that kitchen was miserable partly because of the layout and partly because you couldn't see what you were doing. The new lighting transformed the functionality of the space as much as any other single change.
What We Spent
| Category | Budget | Actual |
|---|---|---|
| Cabinets (inset, custom paint) | $14,000 | $16,200 |
| Countertops (quartzite, installed) | $7,000 | $7,400 |
| Appliances | $6,000 | $8,100 |
| Electrical (lighting, outlets, range) | $3,500 | $4,200 |
| Plumbing | $2,500 | $3,800 |
| Tile (backsplash, floor) | $2,000 | $2,600 |
| Chimney chase remediation (unplanned) | , | $3,800 |
| Hardware, fixtures, accessories | $1,500 | $1,900 |
| Widening doorway to dining room | , | $2,800 |
| Total | $36,500 | $50,800 |
The total was higher than the $47,000 I mentioned at the top because we added the doorway widening and a few items mid-project. The budget I gave our contractor at the start was $30,000, and by the time we added everything we wanted plus the unplanned discoveries, we were at just over $50,000. That's a 70% overage on the original number, which sounds alarming but is actually fairly typical for full kitchen renovations in historic homes in Charleston based on what I've heard from others in similar situations.
Three Decisions I'd Make Differently
We did not add a second sink. We have a single farmhouse sink under the window and no prep sink on the island, which means when two people are cooking simultaneously, which happens, we cook together. There's always a moment of competition for the sink. I'd add a small 9-inch prep sink on the island next time. It would have added roughly $800 for the sink and $600 for the plumbing rough-in, both of which would have been negligible on a $50,000 project.
We went with a traditional tile backsplash, white subway tile in a brick pattern, which is classic and correct and slightly boring. I don't regret it exactly, but I also don't feel anything about it. If I were doing it again I'd consider unlacquered copper tiles in the range hood surround area, which would tie into the unlacquered brass hardware and warm up the space. The rest of the backsplash would be white. It would cost roughly the same.
We didn't plan for a pot filler and then wished we had one about six months after moving in. The rough-in for a pot filler is a small plumbing addition, maybe $300. That's trivial to do while the walls are open. Retrofitting a pot filler into a finished wall is a full plaster-restoration project that would cost ten times that. Do it during the renovation if you think you might want it. You can always cap it off if you change your mind.
What the Kitchen Is Now
We cook in it every day. That sounds like a low bar but it wasn't, in the old kitchen, we cooked maybe four times a week and ordered out the rest of the time partly because the space was so unpleasant. The new kitchen is a room we choose to spend time in. The morning light comes through the window over the sink and hits the quartzite countertop and the unlacquered brass in a way that makes the whole room feel warm. The floors are original heart pine matching the rest of the house, which we refinished as part of the same project. You can read about that in my post on refinishing heart pine floors.
It cost more than we planned and it took longer than we hoped. It was worth every dollar and every week. If you're planning a kitchen renovation in a historic home, go in expecting to spend 20–25% more than your initial budget, plan your electrical before anything else. And don't skip the inset cabinets if the house was built before 1940. The details are what make it feel right rather than just new.
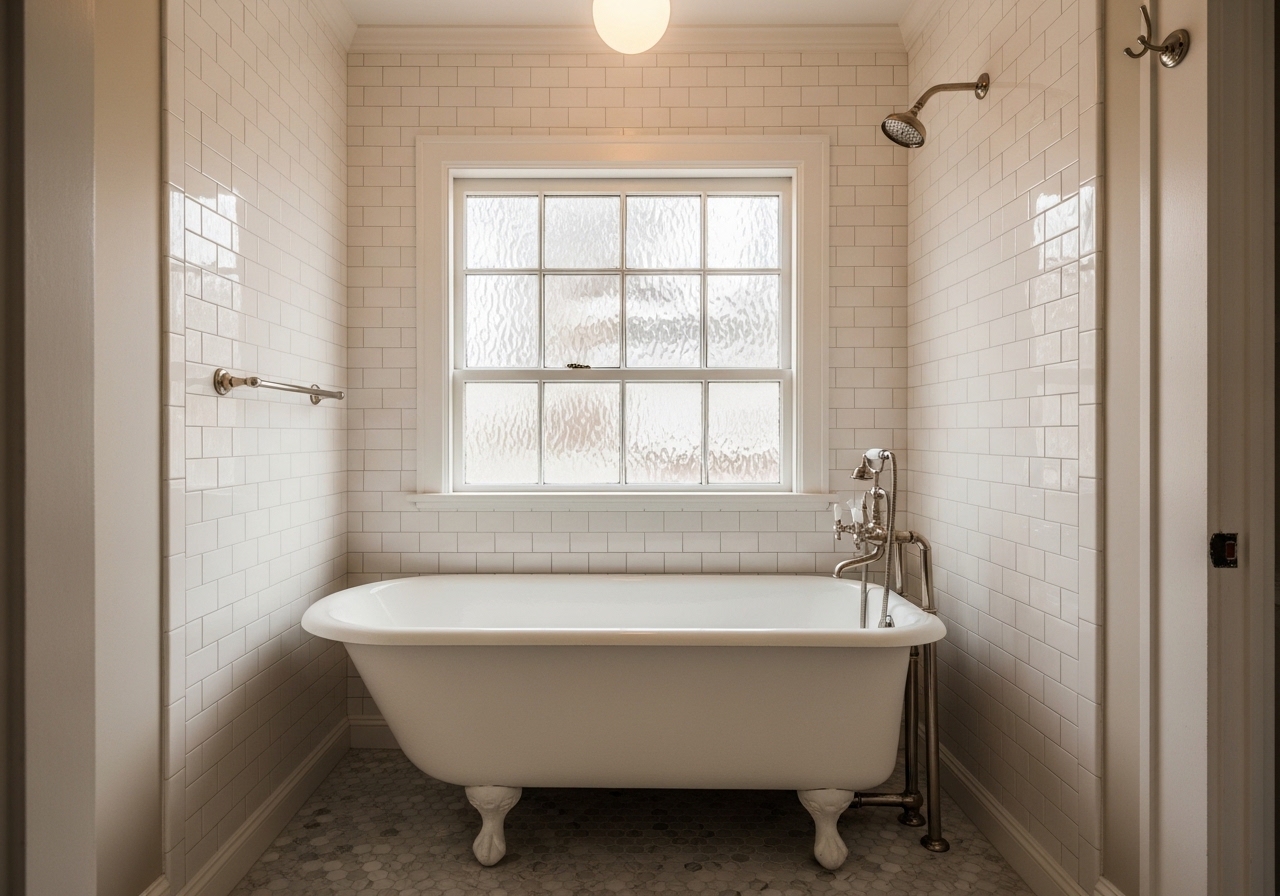
More renovation posts: Read about our first year in a historic home, the clawfoot tub bathroom renovation, and why we always start with the lighting.
Quick Answers
How much does a kitchen renovation cost in a historic home?
In Charleston, full kitchen renovations in pre-1940 homes typically run $35,000–$65,000 for a 12-by-14-foot space. Budget 20–25% above your initial estimate as a contingency for unplanned discoveries, plumbing that needs replacing, electrical that doesn't meet code, structural surprises inside walls. Our project came in at $50,800 on an original $30,000 budget, which is typical rather than exceptional.
Should you use inset or overlay cabinets in a historic home?
Inset cabinets are the historically appropriate choice for any home built before about 1950. The overlay construction that dominates modern kitchens is a mid-century cost-cutting development. Inset costs 15–20% more than comparable overlay but reads as correct for the period. In a house built in 1892, overlay cabinets are an anachronism that's immediately visible to anyone who knows old houses.
Is marble or quartzite better for a historic home kitchen?
Soapstone is most historically accurate for pre-1920 kitchens in the American South. Marble is appropriate for higher-end homes of the period. Quartzite is a modern choice that reads as plausible while offering better durability and less maintenance than marble. We chose Taj Mahal quartzite and don't regret it, though if we were being strict about authenticity, soapstone would have been the right call.
Lighting was the one thing we got right the first time. Three kitchen pendant lights over the island, properly spaced. And the kitchen finally felt like a real kitchen.
The full kitchen lighting story is in our kitchen lighting zones guide.
Keeping What Gives the Room Character
We preserved the features that made the kitchen feel like part of an old house. The windows, the heart pine, the proportions. And modernized function around them. The best historic kitchens feel updated without erasing the home's age, and that restraint is harder than it sounds.
The Lessons We Learned the Hard Way
Out-of-level floors, undersized wiring, and a quirky layout all surfaced mid-project, and rushing a few decisions led to do-overs. Budgeting extra time and money and sequencing the work carefully, including layering the lighting with pendants, under-cabinet strips, and a warm overhead, saved us stress in the end.
Shop this post: kitchen pendant lights