The parlor was the last room we tackled in the first phase of the renovation, which means by the time we got to it, we'd already made all our mistakes somewhere else. The floors were done. The kitchen was done. We'd figured out what we were doing with the electrical and the lighting. We had a relationship with a plaster specialist. We knew which decisions to make quickly and which ones needed more time. The parlor benefited enormously from going last.
Before and after posts are a format I'm somewhat ambivalent about. They can make renovation look tidier and faster than it is. So I'm going to include the actual before state, not a cleaned-up version of it. And I'm going to be specific about cost, timeline, and decisions rather than just showing you the pretty pictures at the end. This is the Victorian parlor restoration before and after, with everything included.
What the Parlor Looked Like Before
The parlor in our 1892 Charleston single house is an 18-by-20-foot room with 11-foot ceilings, original heart pine floors, an intact plaster ceiling with a 24-inch diameter ceiling medallion. And a working fireplace with a marble surround that is almost certainly original to the house. It faces southeast and gets morning light through two pairs of original 9-over-9 wood windows, the sashes of which slide into pockets in the wall when fully open, as was typical for Charleston single houses of the period.
When we moved in, the room had: six coats of paint on the walls ranging in color from a mid-century beige to a 1980s mauve, with the most recent coat being an aggressive "linen white" that had been applied directly over the mauve without proper preparation and was already peeling at the corners. The plaster ceiling had two cracks, one of which, an 18-inch crack running from the center medallion toward the northeast corner, showed evidence of prior repair with drywall compound rather than proper plaster, which meant the repair had failed and the crack had reopened. The ceiling medallion was encrusted with approximately fourteen layers of paint, which had softened the detail to the point where individual acanthus leaves in the pattern were nearly indistinguishable. The fireplace mantel had been painted at some point, a crime, in a matte white paint over the marble that would require careful stripping to remove without damaging the stone underneath. The floor was in good condition, protected under carpet that had itself been installed over the original floors.
The room smelled faintly of something, not mold, not rot, but the particular smell of old paint and closed-up space that old houses sometimes have, which disappears once you open things up and let the air move. The fireplace worked; the chimney had been inspected before closing and was structurally sound. The room was not in bad condition. It was a room that had been lived in, painted over, simplified. And gradually stripped of its character without any single act of vandalism, just the accumulation of convenience decisions over 130 years.
The Decisions We Had to Make Before Anything Else
There was a version of the parlor restoration that was quick and relatively inexpensive: roll new paint over the old walls, patch the ceiling crack with joint compound again, strip what we could from the fireplace mantel, add a light fixture, put down an area rug, move in some furniture. This would have taken maybe three weeks and $4,000.
We didn't do that version. We did the longer, more expensive version, which I'll describe below. The reason is that we'd already done the quick-and-relatively-inexpensive version of several other things in the house. And the result was always something that looked acceptable but didn't feel right. The parlor is the most architecturally significant room in the house. The room with the best proportions, the best original detail, the room that was designed to be seen. Doing it properly felt necessary in a way that, say, the guest bedroom did not.
Plaster Repair: Why We Hired a Specialist
The ceiling crack was the first decision. The previous repair, joint compound over a plaster crack, is a common mistake. Joint compound and plaster have different expansion and contraction rates; in Charleston's humidity swings, the joint compound moves differently than the surrounding plaster, and the crack re-opens. The correct repair for old plaster is to use plaster, specifically, to stabilize any loose keys first (the plaster keys are the mechanical fasteners that hold plaster to the lath behind it; when they break, the plaster falls), then apply a fiberglass mesh tape, then skim with a plaster repair compound that matches the original's flexibility.
We hired George, our plaster specialist, who we found through the Preservation Society of Charleston, for this work. George has been repairing historic plaster in Charleston for 28 years. He charged $125/hour, and the ceiling work took him 14 hours including the medallion cleaning and touch-up. Total cost: $1,750 for the ceiling and $400 for materials.
The ceiling medallion cleaning was its own project. Fourteen layers of paint over a detailed plaster casting require patient work, a combination of chemical stripping solution applied with brushes, careful mechanical work with dental picks and small tools to clear the crevices without cutting into the plaster underneath. And patience. George spent about 6 of his 14 hours on the medallion alone. The result is the original detail completely visible. The acanthus leaves distinct, the egg-and-dart border crisp, the center disk clean. It looks like what it is: a well-made plaster casting from 1892 that has been carefully maintained.
The Paint Color Decision: Dark Green and Why
The decision that defined the room was the paint color. We chose dark green, specifically Benjamin Moore HC-134 Tarrytown Green. And I want to explain why, because I've gotten more questions about this decision than any other.
Historic paint analysis. The actual process of sampling down through paint layers to identify original colors, shows that parlors in Charleston single houses of the 1880s and 1890s were often painted in deep, saturated colors: greens, blues, plum, deep terra cotta. The light, neutral, "timeless" palette that dominates modern interior design is a post-World War II phenomenon. The Victorians used color assertively, particularly in formal rooms, and particularly in the South where the preference was for rich, warm tones that contrasted with the white of the exterior and the trim.
We also chose dark green for a practical reason: the room gets strong morning light through its southeast-facing windows. And a color that would feel oppressive in a north-facing room reads as rich and warm in a room flooded with morning sun. The specific green we chose, Tarrytown Green, is a deep forest green with a warm undertone, not a cool, blue-green. In morning light it glows. In the evening under warm incandescent light it feels like the inside of a jewel box. It is not a neutral. It is absolutely the right choice for this room.
For more on paint selection in historic rooms, I'd point you to the Old House Online guide to historic paint colors and to my own post on choosing the best paint color for a living room in a historic home.
The Fireplace Mantel: Marble Restoration
Stripping paint from marble is not something you do with a heat gun. Heat damages marble. It can cause thermal shock that produces micro-fractures, particularly in older marble that has experienced thermal cycling over 130 years. The correct approach is a chemical paint stripper designed for stone, applied cold, left to work slowly, and removed mechanically without abrasion.
We hired a stone restoration specialist for this work. There are three in Charleston; we used a company called Lowcountry Stone Restoration that was recommended by George, our plaster specialist. The marble on our fireplace surround is Carrara, almost certainly original, with the typical gray-white veining. Under the paint, which took three chemical applications to fully remove. The marble was in good condition. There were two chips at the base of one pilaster that had probably occurred during a furniture move at some point, which were filled with a tinted epoxy repair. The total cost for the marble restoration was $1,200, which I would describe as an investment rather than an expense. Replacing a marble fireplace surround of this quality and age would cost $8,000–$15,000 if you could find a matching piece, which you almost certainly couldn't.
The Lighting Plan for an 11-Foot Ceiling
We had planned the electrical for the parlor back at the beginning of the renovation, before we'd made any decisions about paint or furnishings. Following the principle I write about in starting with lighting, we roughed in: a central location for a chandelier at the ceiling medallion, two switched circuits for floor lamps on the east wall (for reading chairs), two picture light circuits over the fireplace wall. And two additional switched outlets in the baseboard on the west wall for accent lamps.
The chandelier we chose is a 28-inch aged brass piece with six arms, hung at 33 inches below the ceiling medallion, which puts the bottom of the fixture at about 8 feet above the floor, comfortable for the room's proportions. For a room with 11-foot ceilings, I'd written about fixture selection for 10-foot-plus ceilings. The same principles apply, with the additional consideration that a chandelier in a very tall room can afford to be slightly heavier and more elaborate than in a 9-foot room.
All four circuits in the parlor are on dimmers. The chandelier on its own dim setting, floor lamps at half power. And picture lights over the fireplace creates a layered evening atmosphere in the room that is nothing like the flat overhead light that used to come from the single globe fixture that was there when we moved in. Lighting is the difference between a room that looks right and a room that feels right.
The Furniture and Antiques
We did not buy period Victorian furniture for the parlor. I want to be clear about this, because I think there's a common misconception that restoring a historic room means filling it with period-appropriate pieces. We believe the house should work for how we live, and how we live doesn't include sitting on horsehair-stuffed settees and worrying about coasters.
What we did do was mix carefully. The major pieces, two wing chairs flanking the fireplace, a settee on the west wall, a large area rug from a vendor in Savannah who works primarily with antique rugs, are older pieces that feel right in scale and material but aren't museum pieces. We supplemented with two antique pieces: a small mahogany side table with a marble top that we found at an estate sale in Mount Pleasant. And an 1890s brass floor lamp that works, we think, because it's actually from the right era. I write about this mixing approach in more depth in my post on mixing antiques with modern lighting.
The Full Cost of the Parlor Restoration
| Item | Cost |
|---|---|
| Plaster repair and ceiling medallion restoration | $2,150 |
| Marble fireplace restoration | $1,200 |
| Paint (4 gallons Benjamin Moore + primer) and labor | $1,800 |
| Electrical work (circuits already roughed in) | $320 |
| Chandelier | $640 |
| Floor lamps (2) and picture lights (2) | $890 |
| Antique area rug | $1,400 |
| Furniture (wing chairs, settee) | $3,200 |
| Antique side table and lamp | $480 |
| Hardware, curtain rods, accessories | $340 |
| Total | $12,420 |
This does not include the electrical rough-in cost from the original renovation planning, which was allocated to the whole-house electrical project. It also doesn't include the heart pine floor refinishing, which was done as part of the whole-house floor project and is documented in the floor refinishing post.
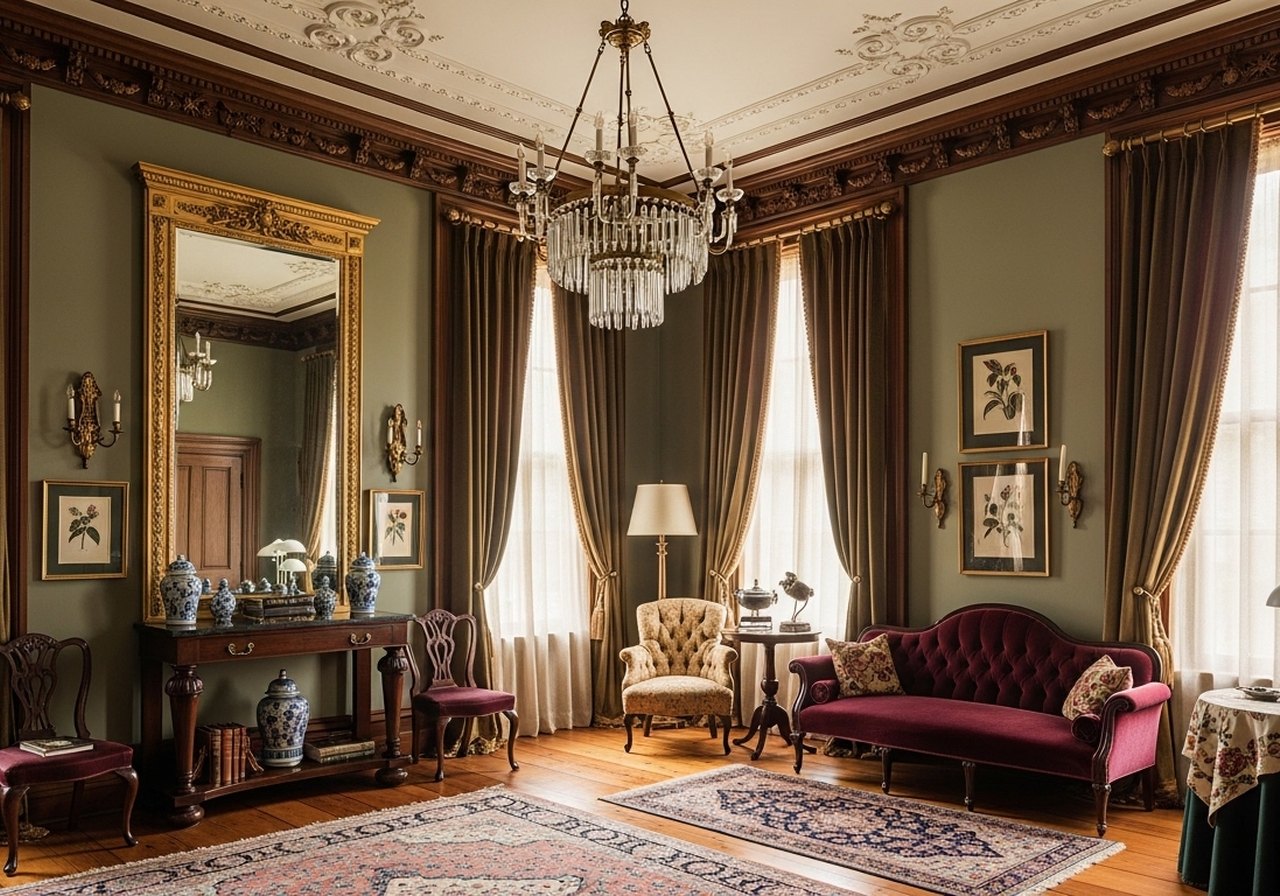
What the Room Is Now
The parlor is the room people comment on when they visit. Not because it looks like a museum. It doesn't, we live in it. But because it feels like a room that has been taken seriously. The dark green walls and the white plaster ceiling and the aged brass of the chandelier and the amber of the floors are in conversation with each other in a way that didn't happen before. The ceiling medallion, now visible in detail, anchors the fixture in the center of the room in the way it was designed to. The marble fireplace, stripped of its paint, is the architectural moment the room was designed around.
The restoration took about nine weeks from start to finish, including waiting periods for the plaster to cure, the marble work to be scheduled, and furniture deliveries. We could have done it faster with more money; we could not have done it better for less.
If your house has a room like this, a room with original architectural detail that has been painted over and simplified and forgotten. I'd encourage you to start there. Not because it's the most practical place to start, but because the result of doing it right is a room that makes everything else feel worth it.
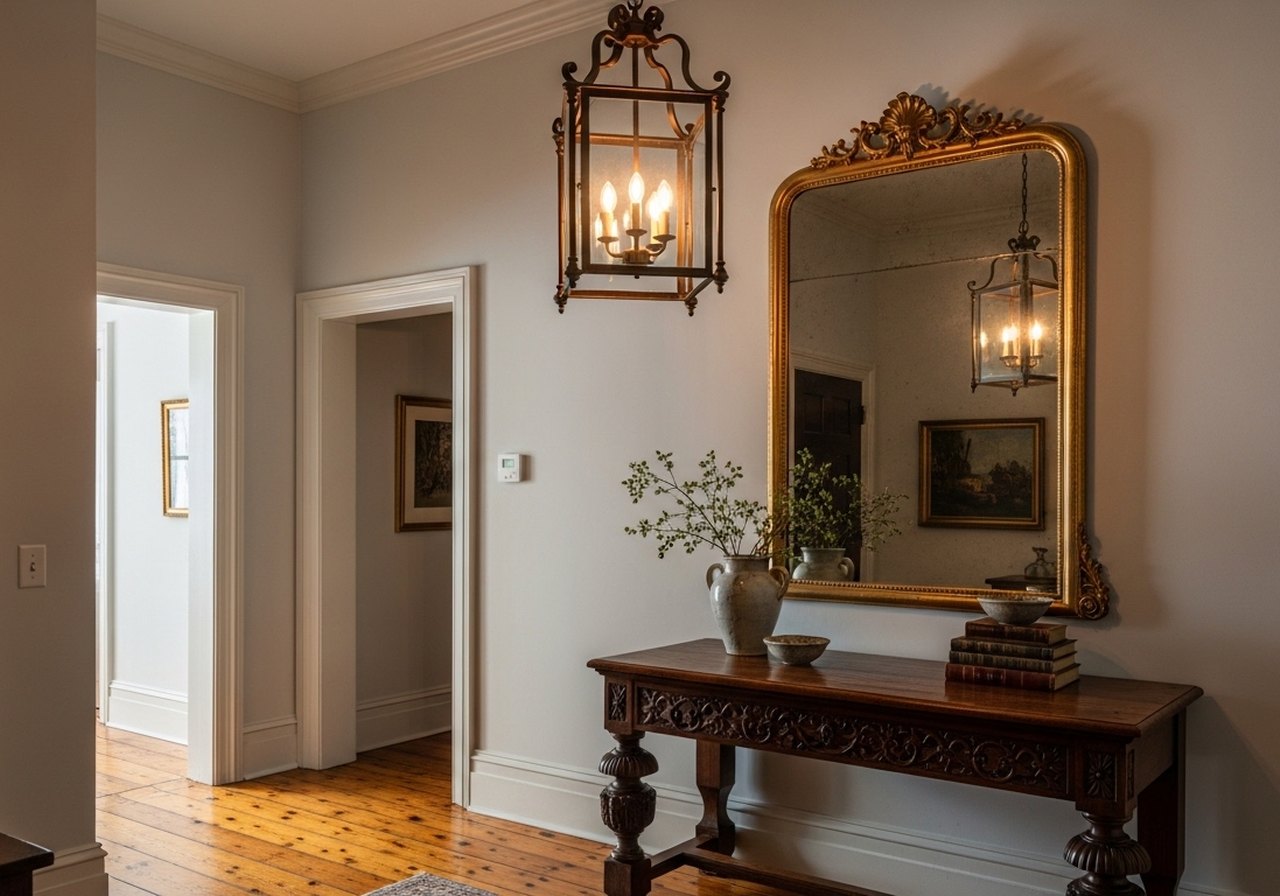
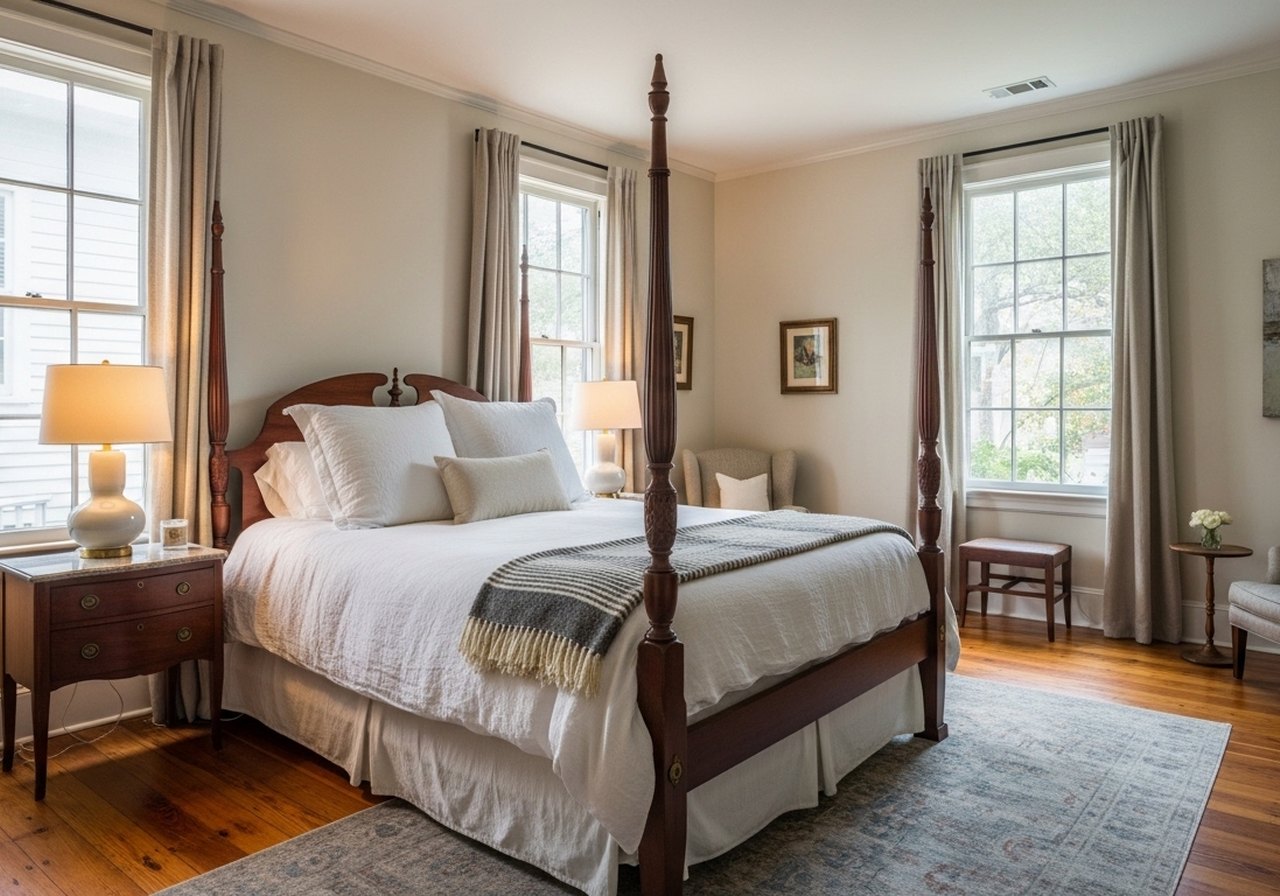
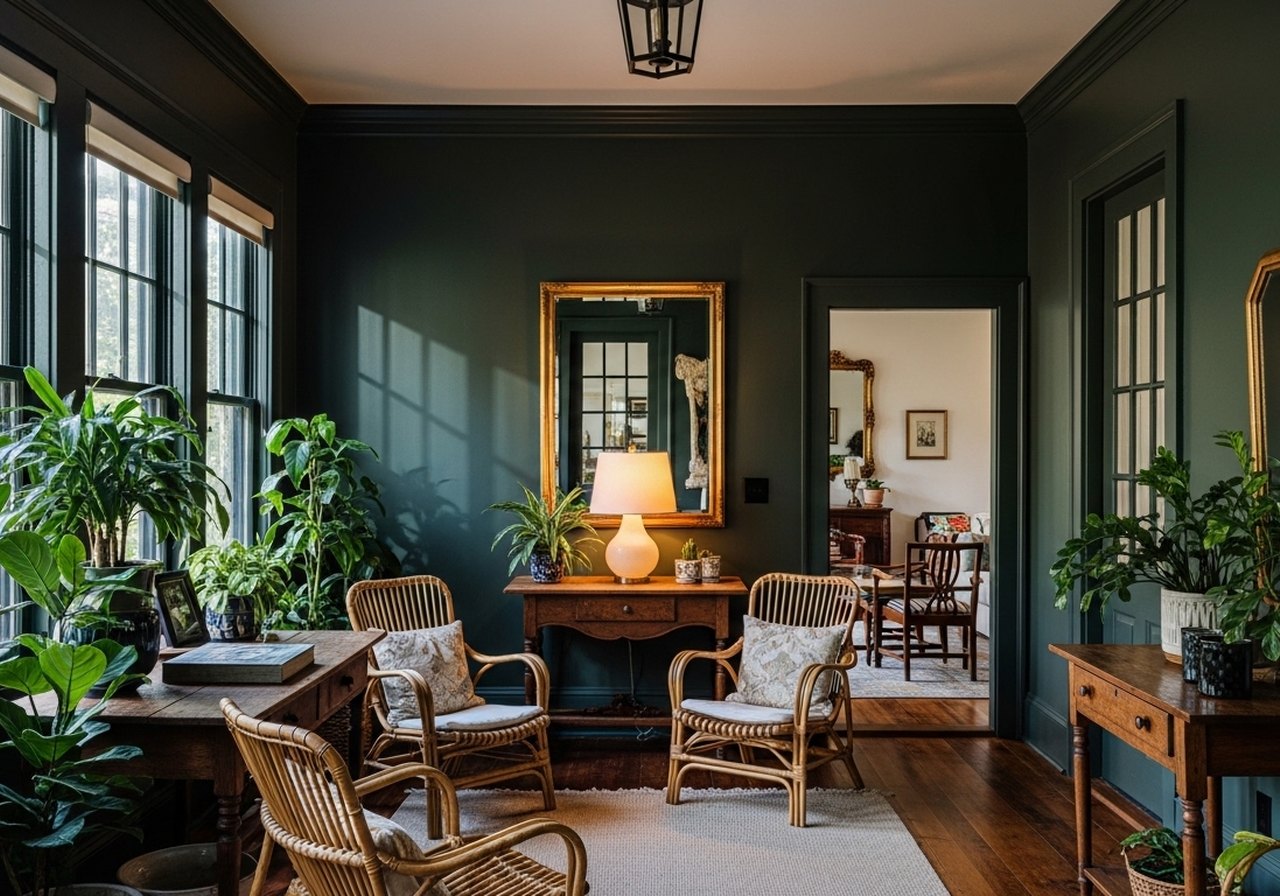
More before and after posts: See the entry hall before and after, the master bedroom transformation, and the sunroom dark green paint reveal.
Quick Answers
How do you restore an original plaster ceiling in a historic home?
Hire a plaster specialist, not a drywall contractor. The repair approach is different: plaster cracks require stabilizing loose keys first, then a plaster-compatible repair compound, not joint compound, which has different movement properties and will cause the crack to reopen. For ceilings with decorative plaster medallions or moldings, a skilled plaster restorer can clean and repair the original detail rather than replacing it, which preserves both the historic character and the financial value of the work.
What paint color is appropriate for a Victorian parlor?
Victorian parlors in well-appointed Southern homes were often painted in deep, saturated colors, forest greens, deep blues, warm plums, rich terra cotta. The light, neutral palette of modern interiors is a post-WWII development. For an authentic feel in a room with good proportions and ceiling height, a deep, warm color reads as historically correct and creates exactly the enveloping atmosphere the Victorians intended. Benjamin Moore's Historical Colors line is a good starting point.
How do you remove paint from a marble fireplace without damaging it?
Chemical paint strippers designed specifically for stone, applied cold and removed without abrasion. Never use heat guns on marble. The thermal shock can cause micro-fractures. Multiple applications are typically needed; old paint on marble is stubborn. For a significant restoration, hire a stone restoration specialist. The cost ($800–$1,500 for a standard surround) is small compared to the value of the marble and the cost of replacement if it's damaged.
We removed the ceiling fan and installed a proper ceiling fixture and a pair of wall sconces. It changed the room's character entirely.
The finish choices connect to our post on mixing antique and modern lighting.
Restoring the Details First
The parlor's value was in its bones, ornate molding, a ceiling medallion, tall windows, original floors. So we repaired and restored those before anything else. Honoring the historic fabric, rather than papering over it, is what makes the room read as a genuine 1892 parlor.
Lighting That Suits the Period
We centered a chandelier under the high ceiling to suit the scale and detail, then layered in sconces and lamps at lower heights, all warm and on a dimmer so the rich molding glows rather than glares. The fixture honors the period while the dimmer keeps the formal room genuinely livable today.
Shop this post: ceiling fixture and wall sconces